Step 1: Log in to Your Nextelco Account
- Open your web browser and go to the Nextelco login page.
- Enter your username and password, then click Log In.
Step 2: Navigate to the Messaging Campaigns Section
- After logging in, you will be directed to the dashboard.
- On the left-hand side of the screen, find the Main Menu.
- Click on Messaging to expand the options under this category.
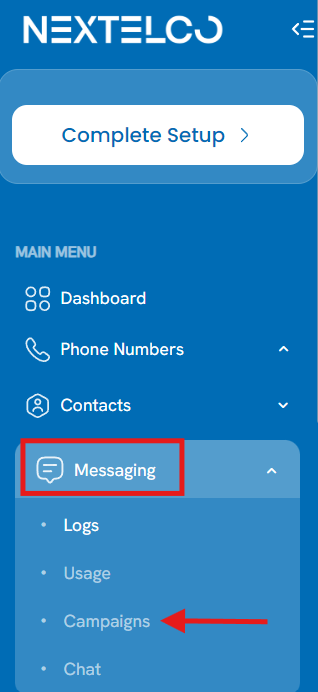
- Select Campaigns from the expanded menu. This will take you to the Campaigns page.
Step 3: Start a New Campaign
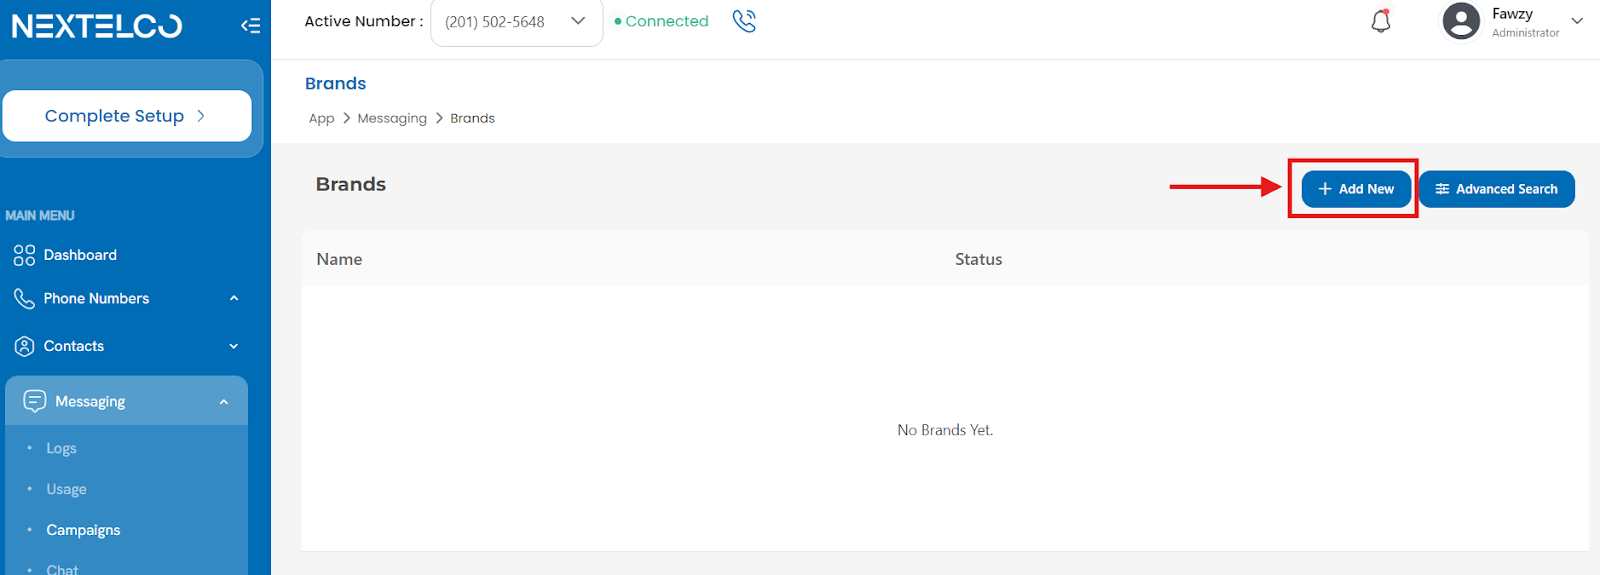
- On the Campaigns page, you should see an option to start a new campaign.
- Click on the New Campaign button to begin.
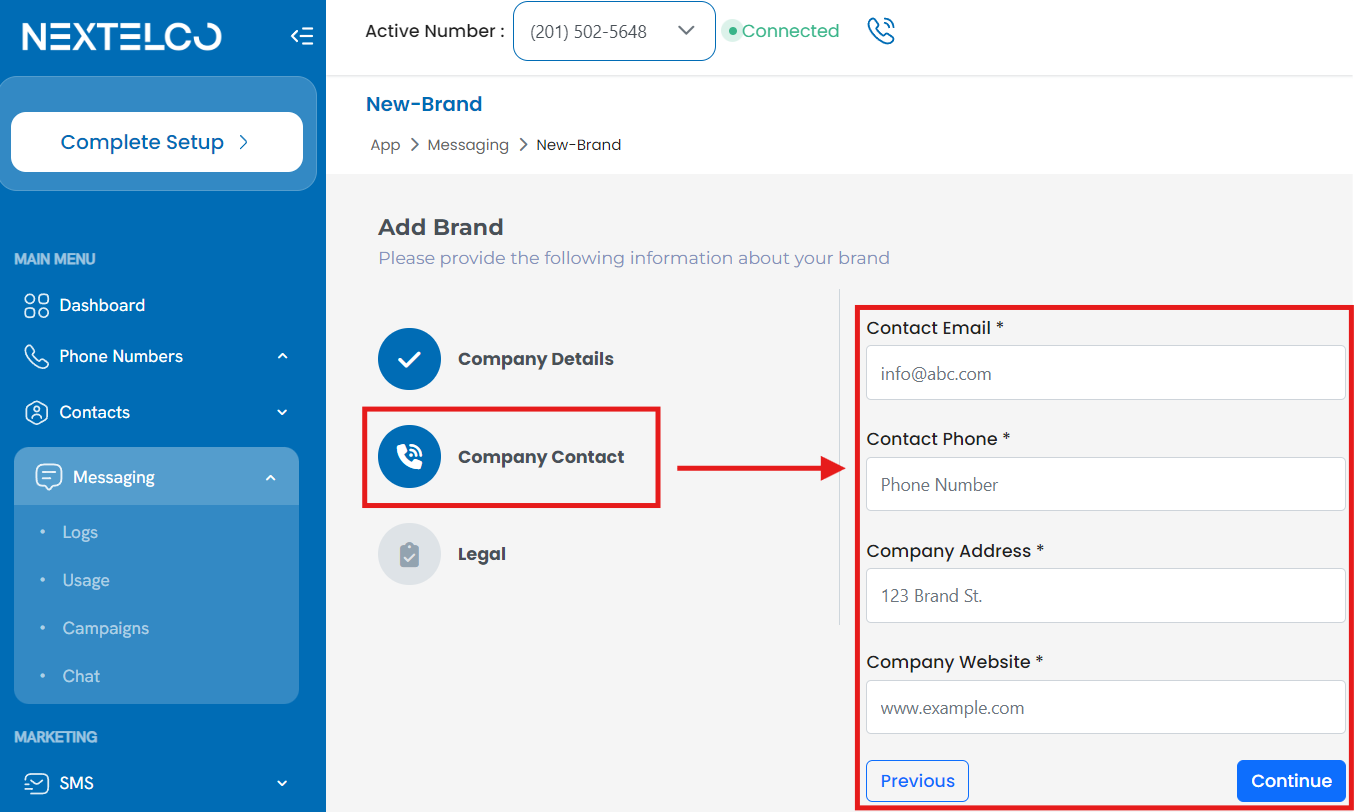
Step 4: Add Brand Information
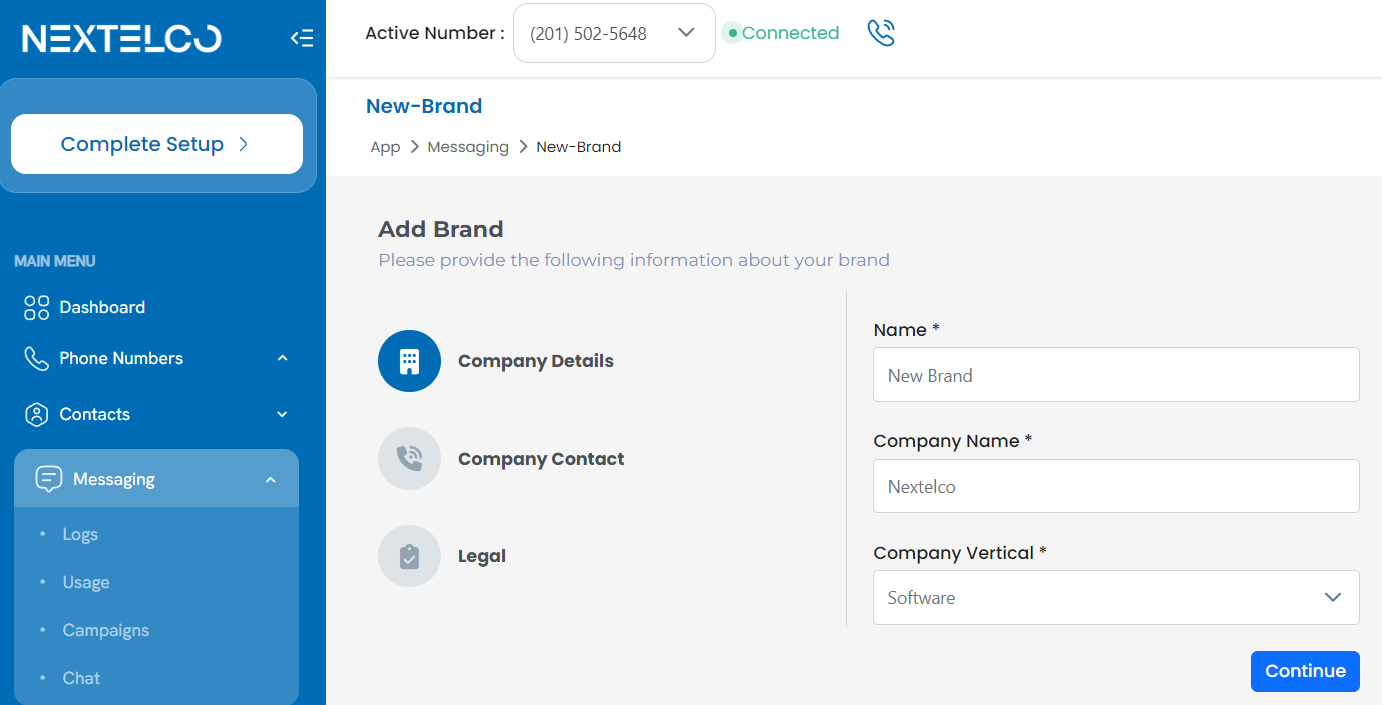
- You will be prompted to provide details about the brand associated with your messaging campaign.
- Fill in the required fields:
- Name: Enter the name of your brand or campaign.
- Company Name: Enter your company name (e.g., “Nextelco”).
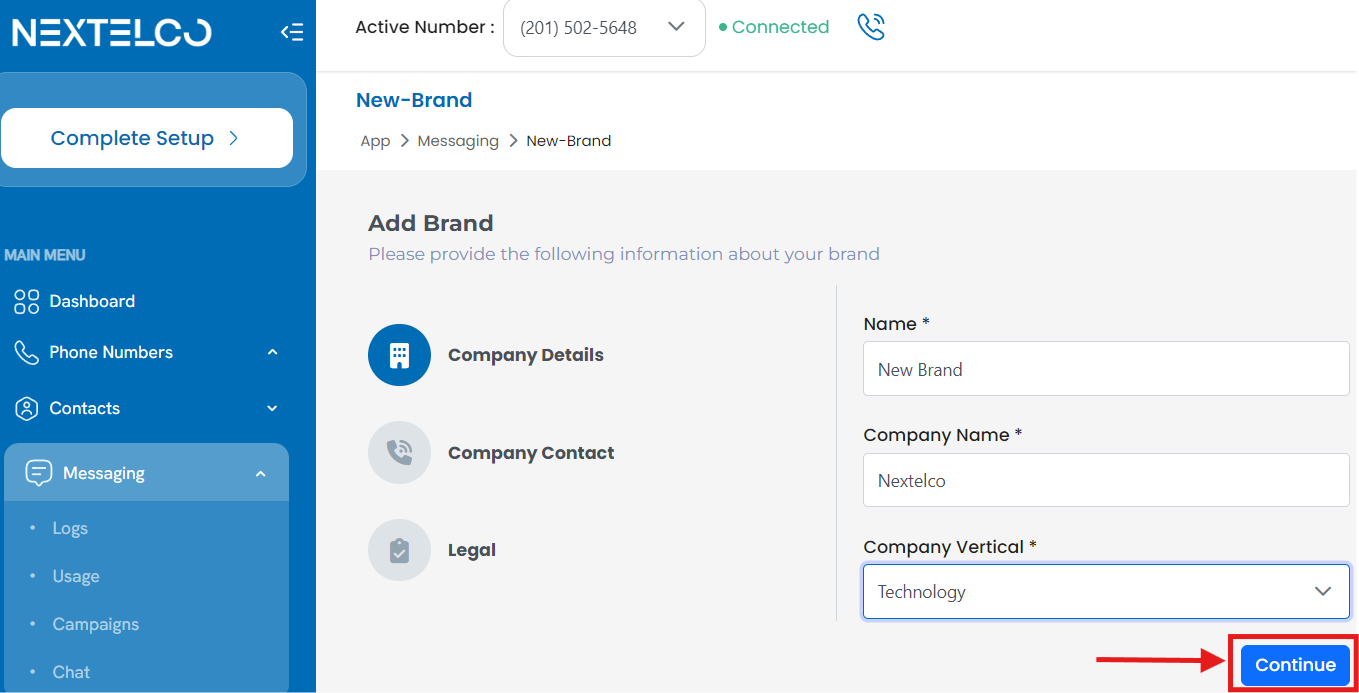
- Company Vertical: Choose the appropriate industry vertical for your brand from the dropdown menu.
Step 5: Continue to Setup
- After filling in all the required information, click the blue Continue button at the bottom of the form to proceed.
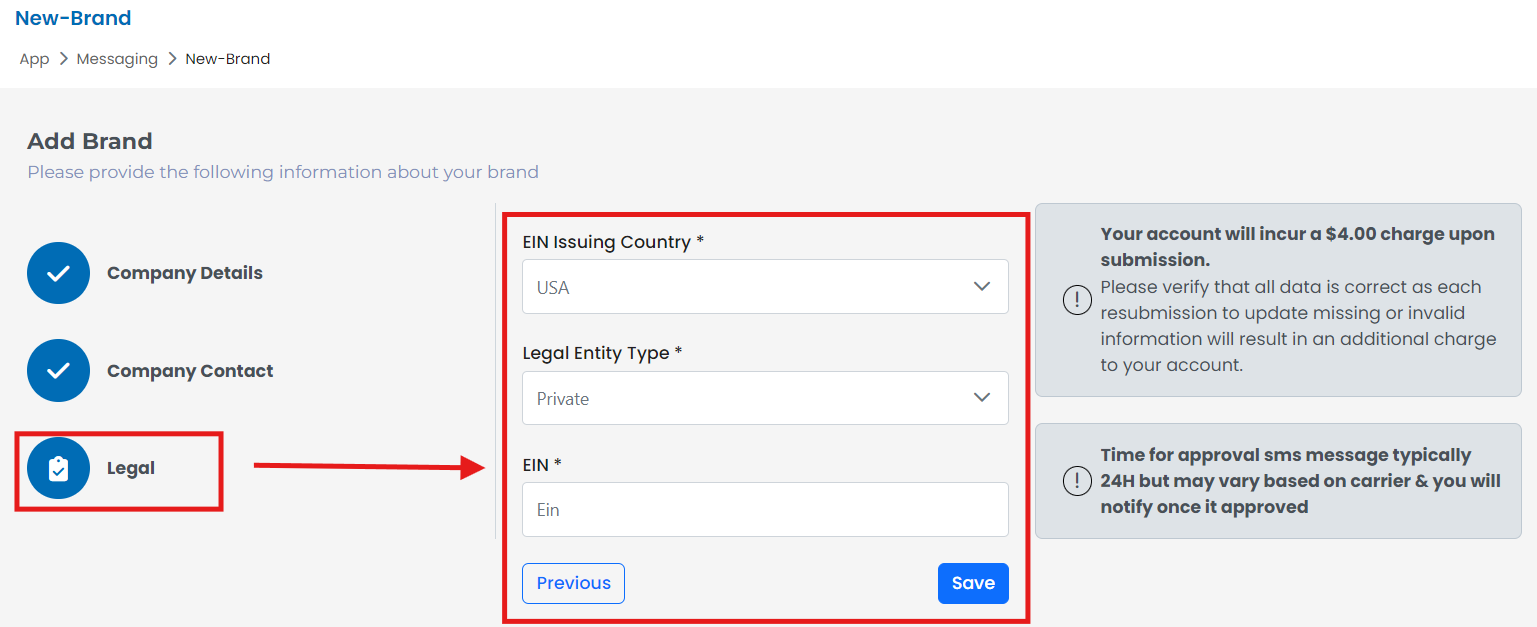
Step 6: Configure Your Campaign
- Once you click Continue, you’ll be taken to a new screen where you can configure the specifics of your messaging campaign.
- Set parameters such as target audience, messaging content, schedule, and any other relevant settings.
Step 7: Review and Launch
- Review all the details of your campaign to ensure everything is correct.
- When you’re ready, click on the Launch Campaign button to start your messaging campaign.
Tips:
- Make sure to double-check the campaign settings before launching, as this will ensure your messages are sent to the right audience at the right time.
- You can monitor your campaign performance through the Campaigns page to track the success of your messaging efforts.