How to Create a New Verified Sender
Introduction
A verified sender is essential for ensuring your email campaigns are trusted and deliverable. Follow the steps below to add a new verified sender to your email platform.
Step-by-Step Guide
Navigate to Verified Senders
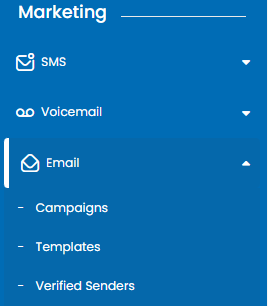
On the dashboard, locate the “Email” section in the left-hand menu.
Click on “Verified Senders.”
Add a New Sender
Click the blue + Add New button in the top-right corner of the Verified Senders page.
Enter Sender Information
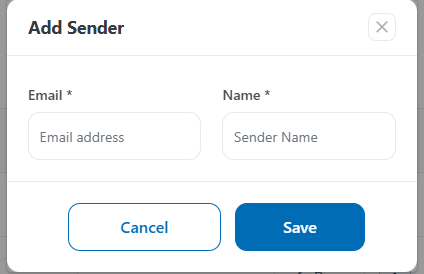
A pop-up form will appear titled “Add Sender.”
Fill in the following fields:
Email: Enter the email address you wish to verify.
Name: Enter the name of the sender or organization.
Click Save to proceed.
Verify the Email Address
After saving, a verification email will be sent to the provided email address.
Access the email inbox and click on the verification link within the email.
Check Verification Status
Return to the Verified Senders page.
The status will update to “Verified” once the email address is successfully verified.