How to Create a New SMS Campaign (English)
Follow these steps to create a new SMS campaign using the platform:
Step 1: Access the Campaign Creation Page
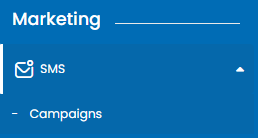
Navigate to the Marketing section in the left-hand menu.
Click on SMS, then select Campaigns.
Click the add New button.
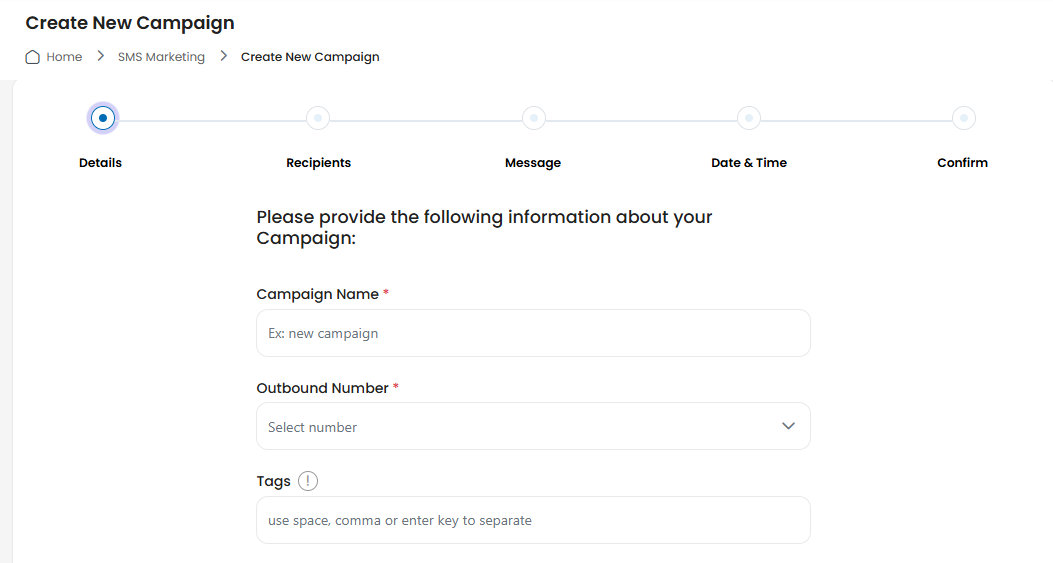
Step 2: Fill in Campaign Details
Campaign Name: Enter a name for your campaign (e.g., "Monthly Promotion").
Outbound Number: Select the number from which messages will be sent.
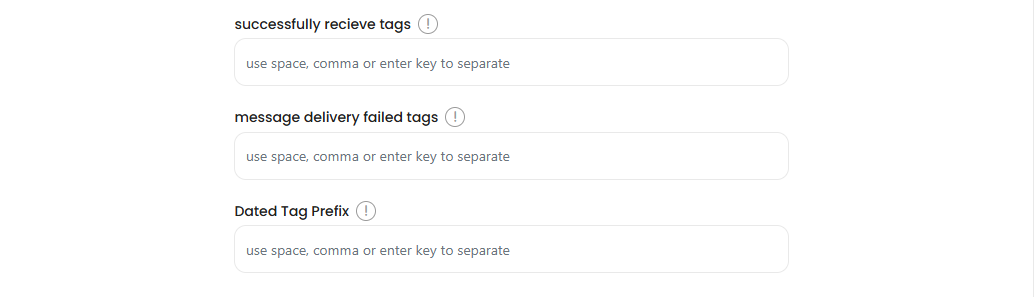
Tags: Add relevant tags separated by commas. These help you organize your campaigns.
Successfully Receive Tags: Tags for successful message deliveries.
Message Delivery Failed Tags: Tags for failed message deliveries.
Dated Tag Prefix: Prefix to categorize campaigns by date.
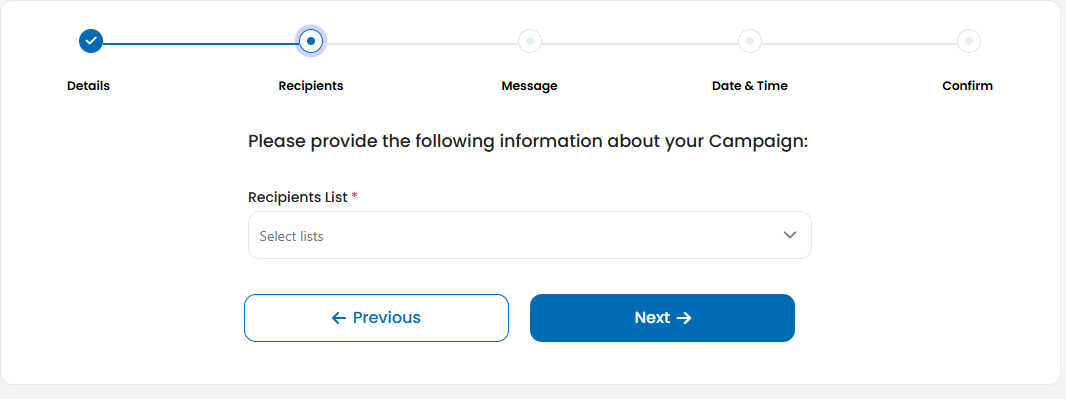
Step 3: Configure Recipients
Move to the Recipients section.
Choose a list of contacts or create a new one.
You can filter recipients based on specific criteria.
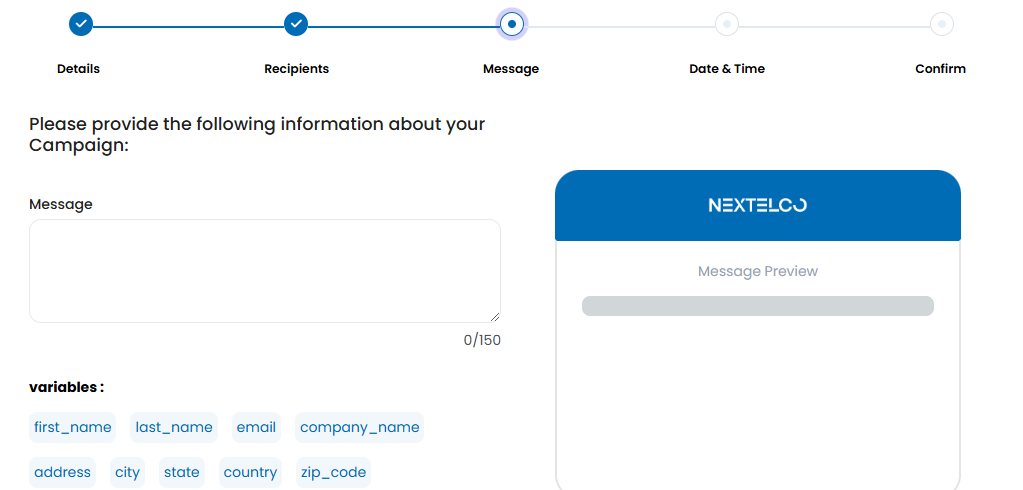
Step 4: Compose the Message
Write the message for the campaign.
Preview the message to ensure accuracy.
Optionally, include personalization variables (e.g., recipient name).
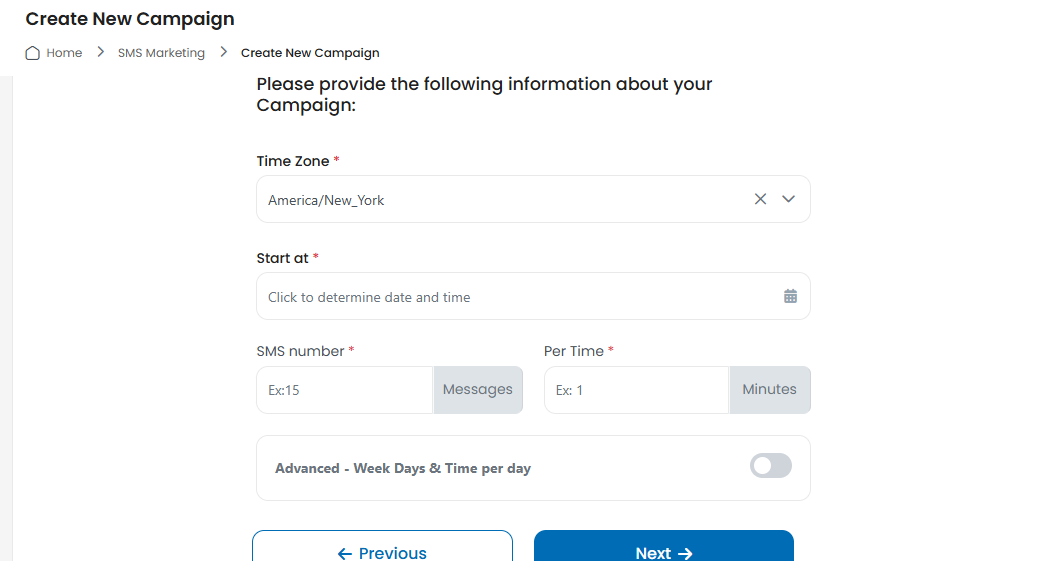
Step 5: Schedule the Campaign
Go to the Date & Time section.
Set the preferred date and time for the campaign to be sent.
Review the schedule to ensure it aligns with your campaign goals.
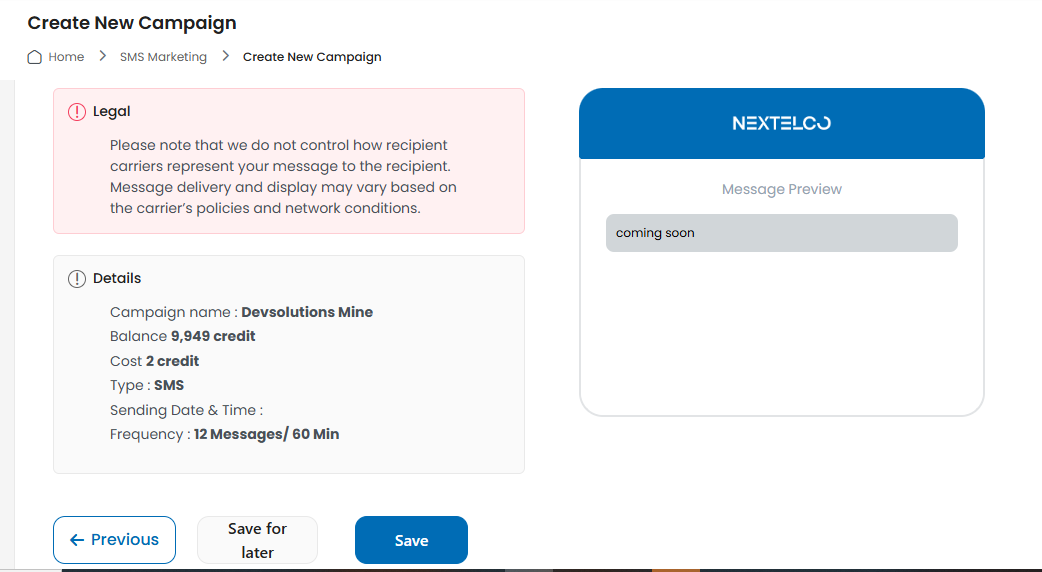
Step 6: Confirm and Launch
Review all the details on the Confirm page.
If everything looks good, click Save to launch your campaign.
Navigate to the Marketing section in the left-hand menu.
Click on SMS, then select Campaigns.
Click the add New button.
Campaign Name: Enter a name for your campaign (e.g., "Monthly Promotion").
Outbound Number: Select the number from which messages will be sent.
Tags: Add relevant tags separated by commas. These help you organize your campaigns.
Successfully Receive Tags: Tags for successful message deliveries.
Message Delivery Failed Tags: Tags for failed message deliveries.
Dated Tag Prefix: Prefix to categorize campaigns by date.
Move to the Recipients section.

Choose a list of contacts or create a new one.
You can filter recipients based on specific criteria.
Write the message for the campaign.
Preview the message to ensure accuracy.
Optionally, include personalization variables (e.g., recipient name).
Go to the Date & Time section.
Set the preferred date and time for the campaign to be sent.
Review the schedule to ensure it aligns with your campaign goals.
Review all the details on the Confirm page.
If everything looks good, click Save to launch your campaign.