Step 1: Access the User Management Section
- Log in to your Nextelco account.
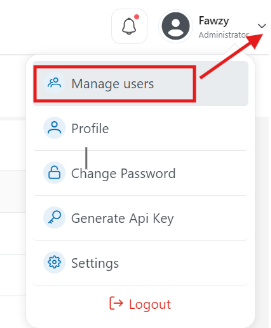
- On the left-hand menu, click on Account.
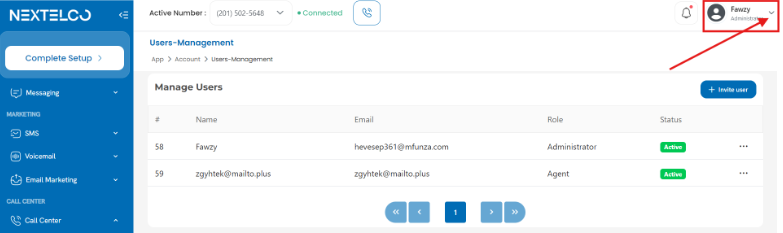
- Select “Manage Users”.
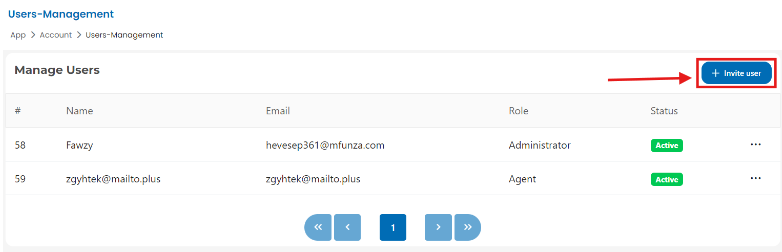
- This will open the “Manage Users” page, where you can see all the users associated with your account.
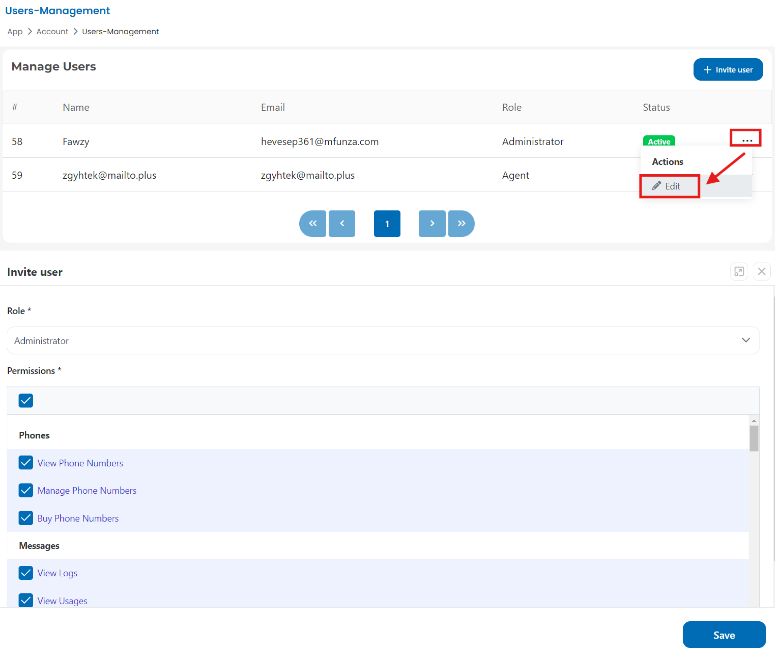
Step 2: View and Edit Existing Users
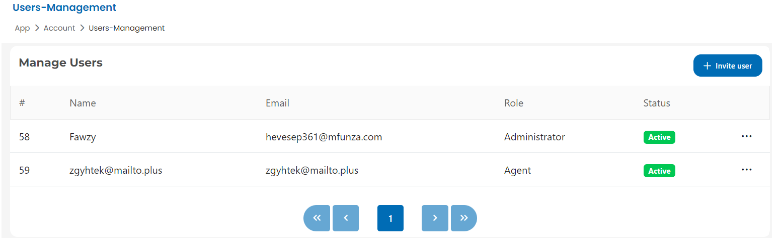
- Find a user you want to manage in the user list.
- To the right of the user’s name, click on the three-dot menu.
- Select “Edit” from the dropdown menu.
Step 3: Add a New User
- On the “Manage Users” page, click the “Invite User” button in the top-right corner.
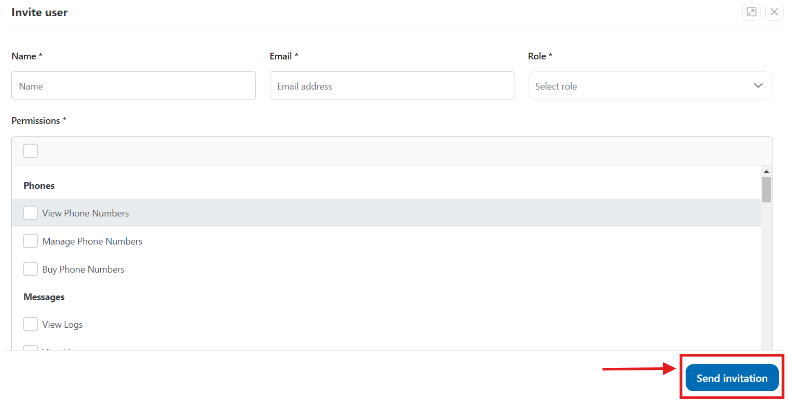
- Fill in the user details in the form:

-
- Name: Enter the user’s full name.
-
- Email: Input the user’s email address.
-
- Role: Select a role from the dropdown (Administrator, Agent, etc.).
- Role: Select a role from the dropdown (Administrator, Agent, etc.).
- Assign Permissions:
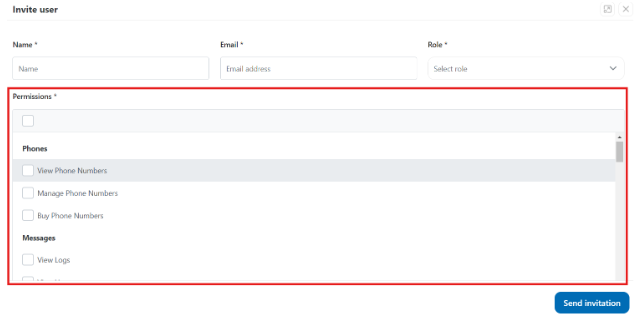
- Check the relevant boxes to assign specific permissions, such as:
-
- Phones: View or manage phone numbers.
-
- Messages: Access message logs and campaign management.
-
- Billing: Manage billing details.
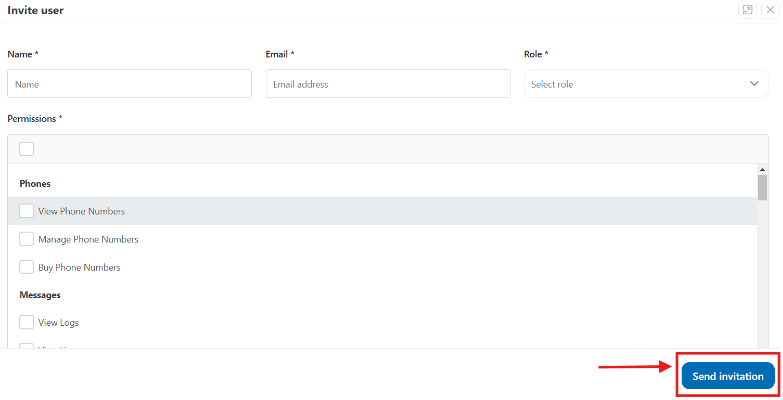
- After filling out the form, click “Send Invitation”.
Step 4: Assign and Manage User Permissions
- When adding or editing a user, you can tailor their permissions:
-
- View Logs: Allows the user to see call and message logs.
-
- Manage Phone Numbers: Enables the user to add or remove phone numbers.
-
- Buy Phone Numbers: Grants the user the ability to purchase phone numbers.
-
- Admin Settings: Provides access to overarching administrative settings.
- Make sure to review the permissions carefully to ensure each user has the right level of access based on their role.
Step 5: Save Changes and Review
- After adding or editing a user, review the details to ensure everything is correct.
- If all information is accurate, click “Save” (if editing) or “Send Invitation” (if adding a new user).
- The user will now appear in the “Manage Users” list, with the assigned role and permissions.