Step 1: Accessing Notification Settings
- Log in to your Nextelco Account:
- Enter your credentials to access the dashboard.
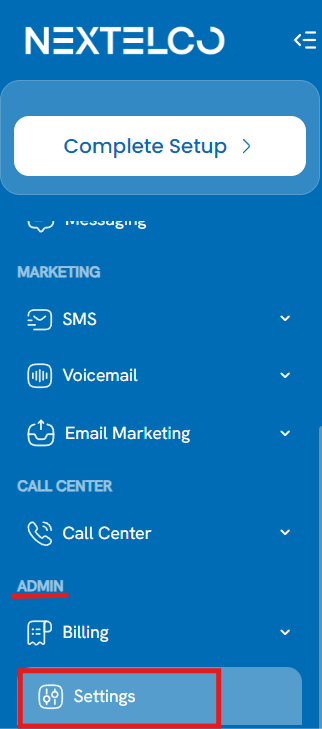
- Navigate to the Settings Section:
- On the left sidebar, find and click on the Settings option.
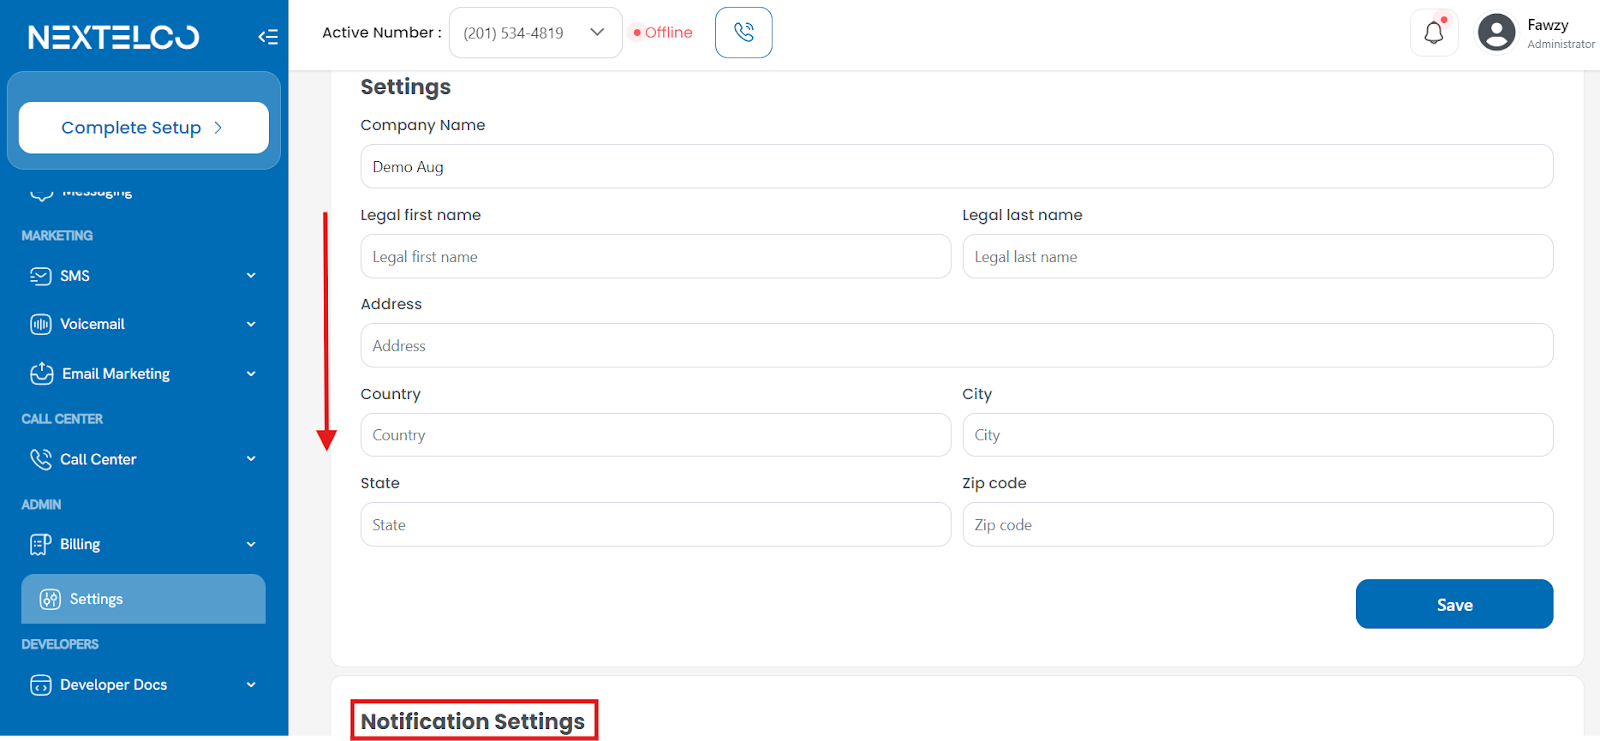
- On the menu that opens scroll down to select Notification Settings.
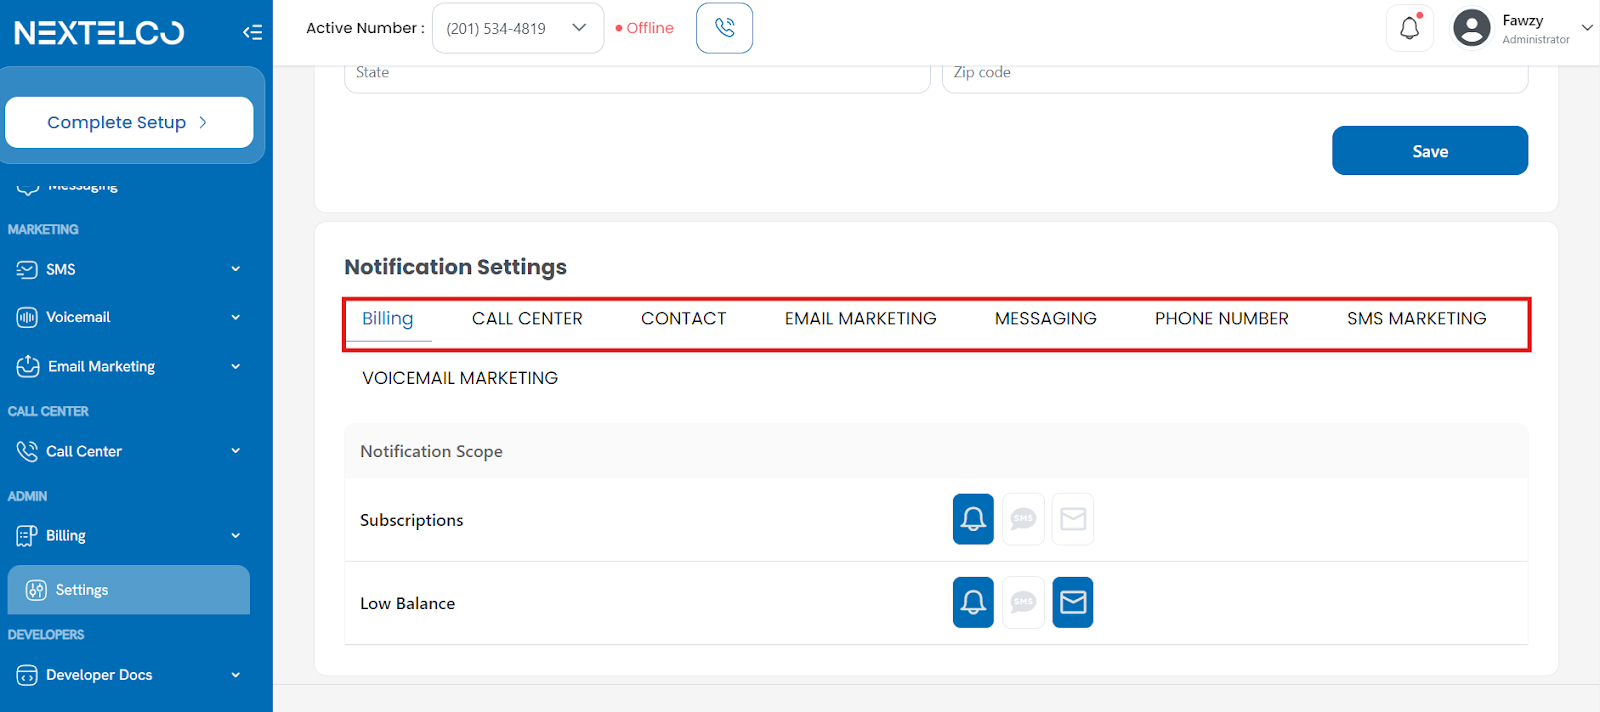
- Viewing Notification Categories:
- You will see different categories for notifications, such as:
- Billing
- Call Center
- Contact
- Email Marketing
- Messaging
- Phone Number
- SMS Marketing
- You will see different categories for notifications, such as:
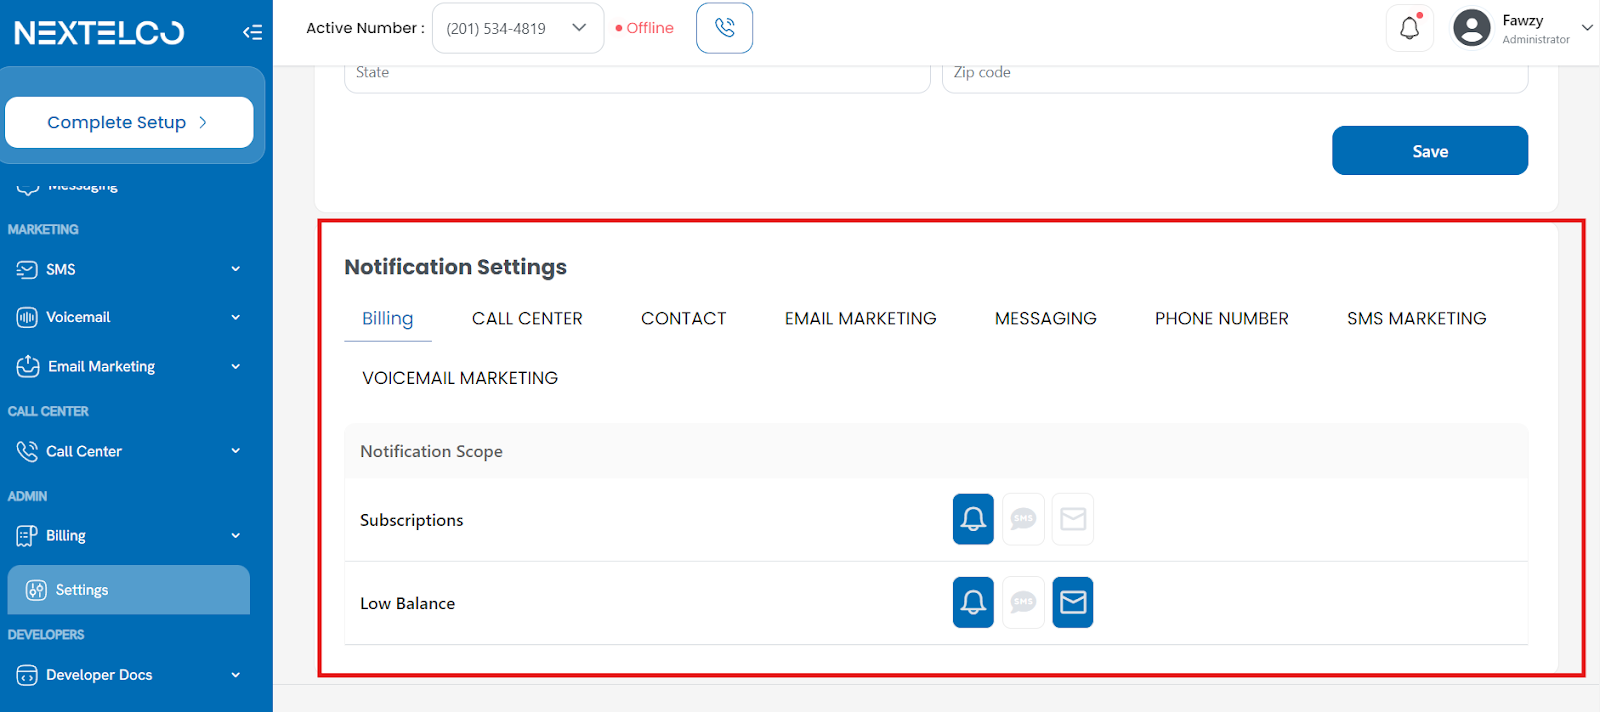
Managing Billing Notifications
- Select the Billing Tab:
- Click on the Billing tab to view notification settings related to your billing activities.
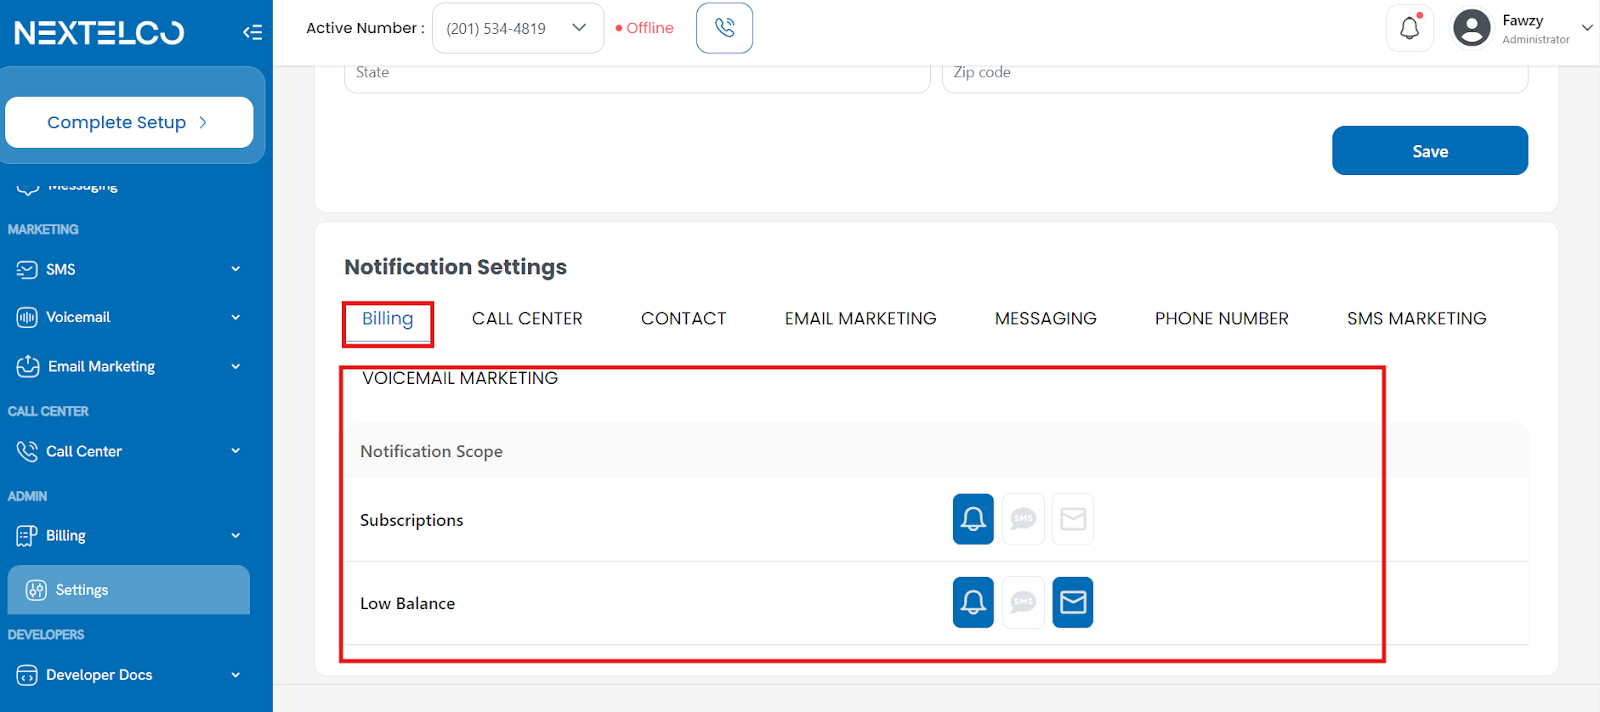
- Configure Notification Scope:
- Under the Billing tab, you’ll see options for different notification scopes like Subscriptions and Low Balance.
- You can choose to receive notifications via:Bell Icon: Web notifications
SMS Icon: Text messages
Email Icon: Email notifications
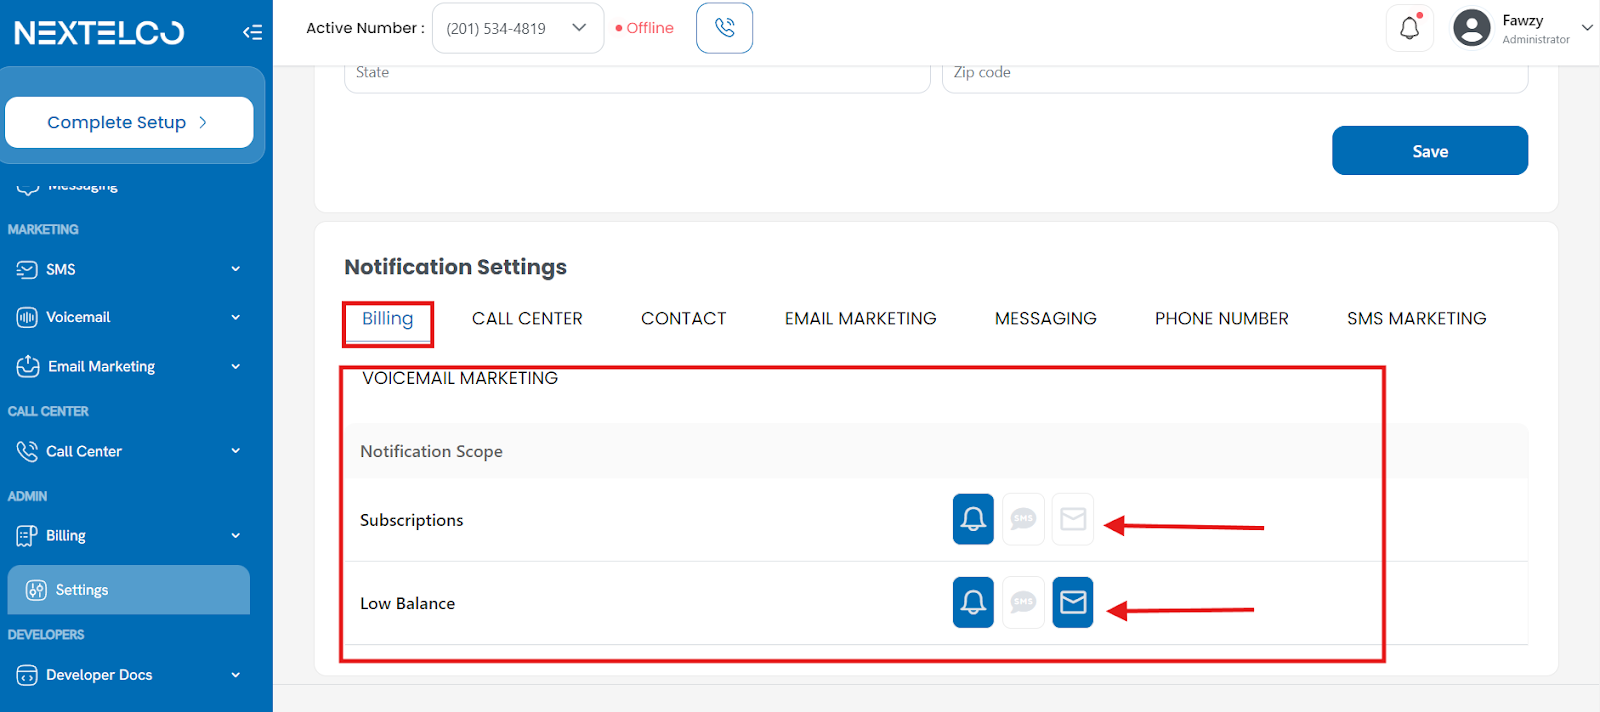
- To activate or deactivate any notification method, click on the respective icon. If the icon is highlighted, the notification method is active.
- Save Your Settings:
- After making your selections, click the Save button to apply your changes.
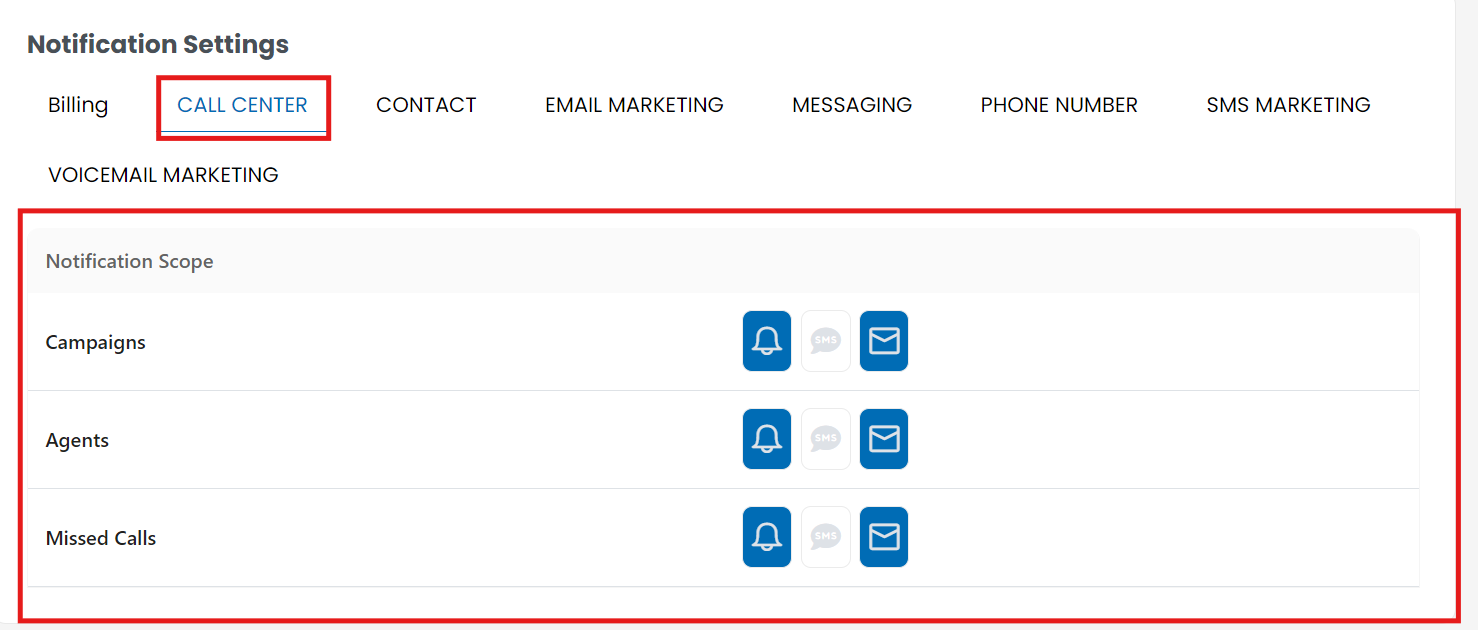
- Select Call Center Tab:
- Under the Call Center tab – Notifications related to call center activities, you’ll see options for different notification scopes like Campaigns, Agents and missed calls
- You can choose to receive notifications via:
- Bell Icon: Web notifications
SMS Icon: Text messages
Email Icon: Email notifications
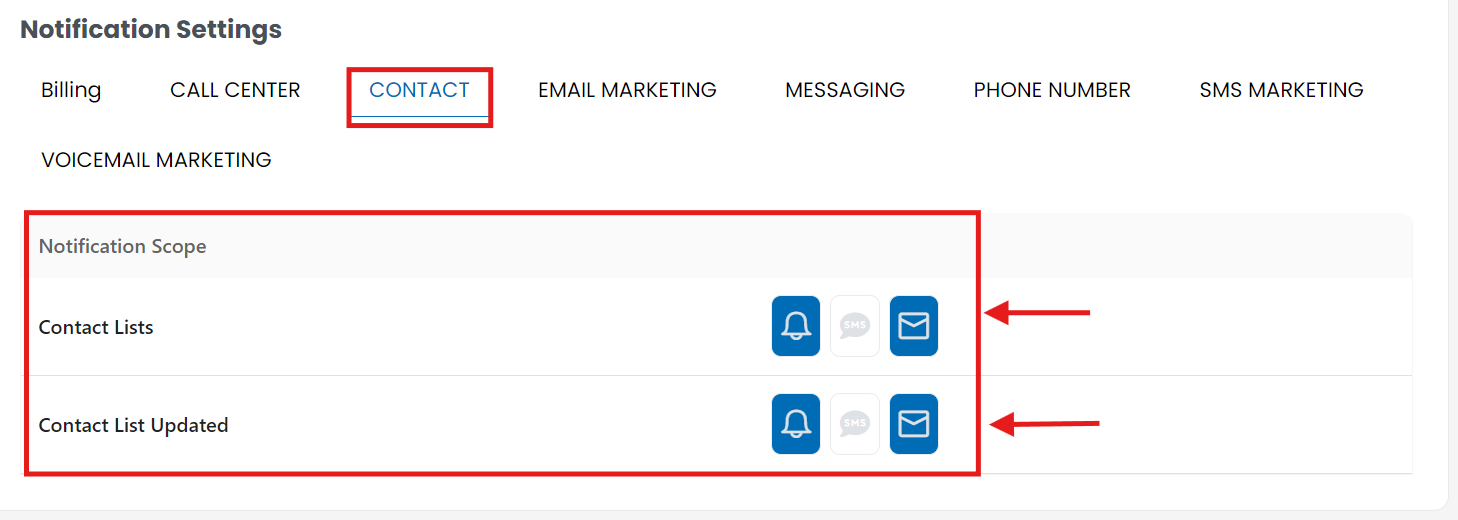
- Select Contact Tab:
- Under the Contact tab – Notifications related to contacts, you’ll see options for different notification scopes like contact lists and contact list updated
- You can choose to receive notifications via:Bell Icon: Web notifications
SMS Icon: Text messages
Email Icon: Email notifications
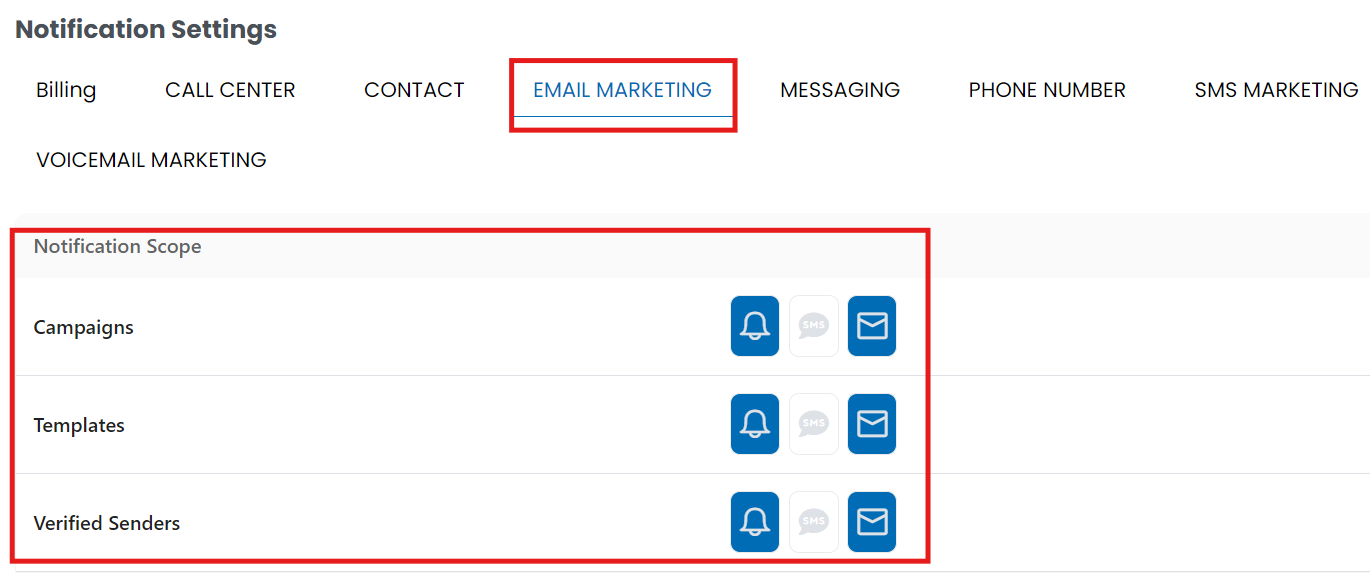
- Select Email Marketing Tab:
- Under the Email Marketing tab – Notifications related to Email Marketing, you’ll see options for different notification scopes like campaigns, templates and verified senders
- You can choose to receive notifications via:Bell Icon: Web notifications
SMS Icon: Text messages
Email Icon: Email notifications
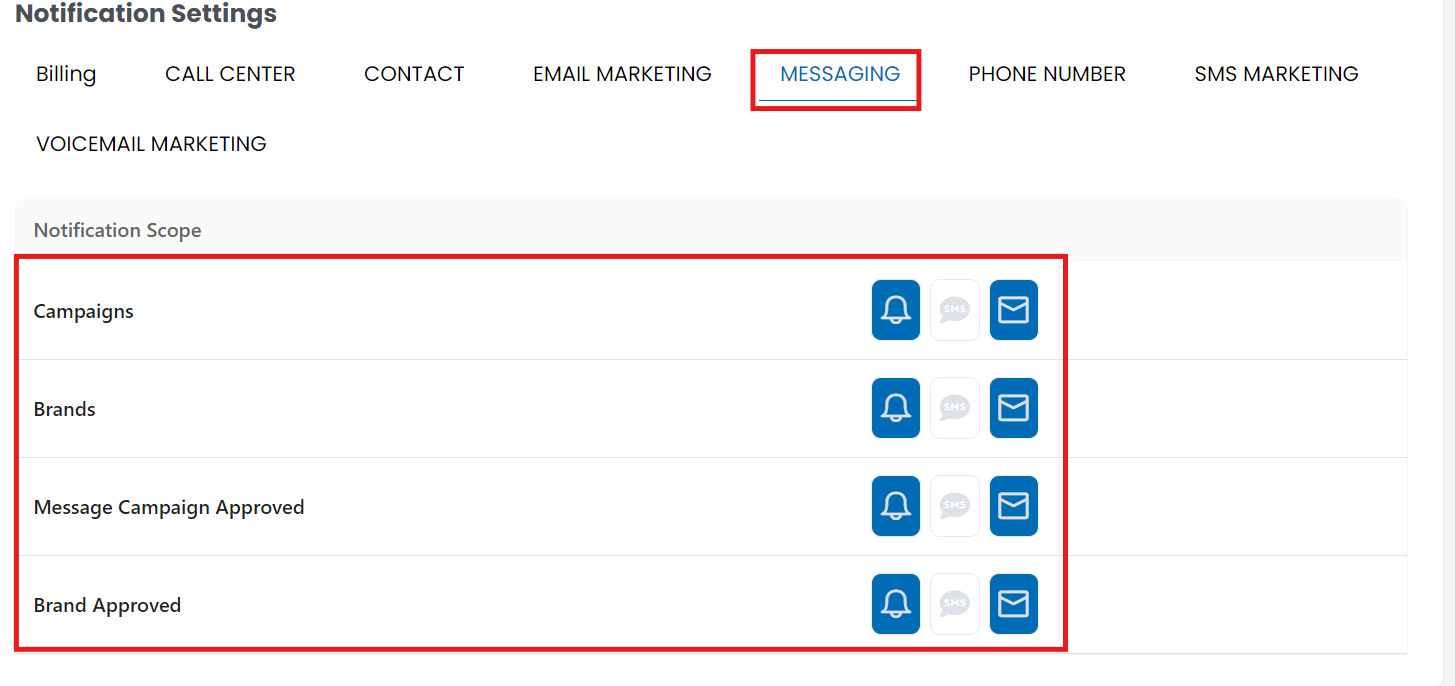
- Select Messaging Tab:
- Under the Messaging tab – Notifications related to Messaging, you’ll see options for different notification scopes like campaigns, templates and verified senders
- You can choose to receive notifications via:Bell Icon: Web notifications
SMS Icon: Text messages
Email Icon: Email notifications
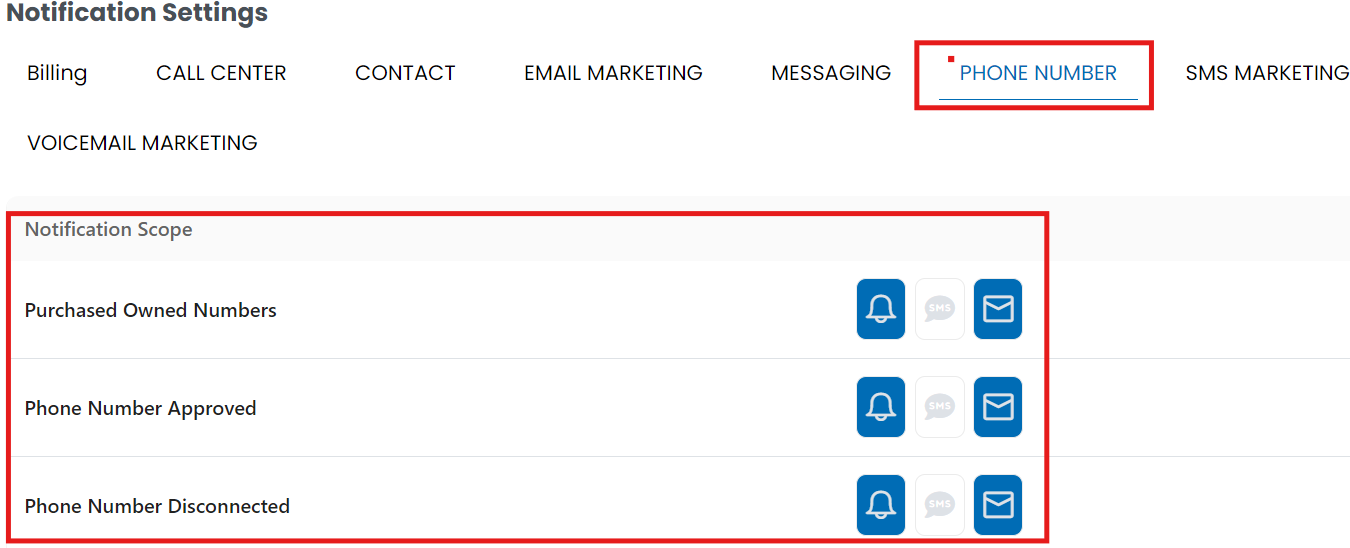
- Select Phone Number Tab:
- Under the Phone Number tab – Notifications related to voice calls, you’ll see options for different notification scopes like Purchased, Owned Numbers, Phone Number Approved, Phone Number Disconnected
- You can choose to receive notifications via:
Bell Icon: Web notifications
SMS Icon: Text messages
Email Icon: Email notifications
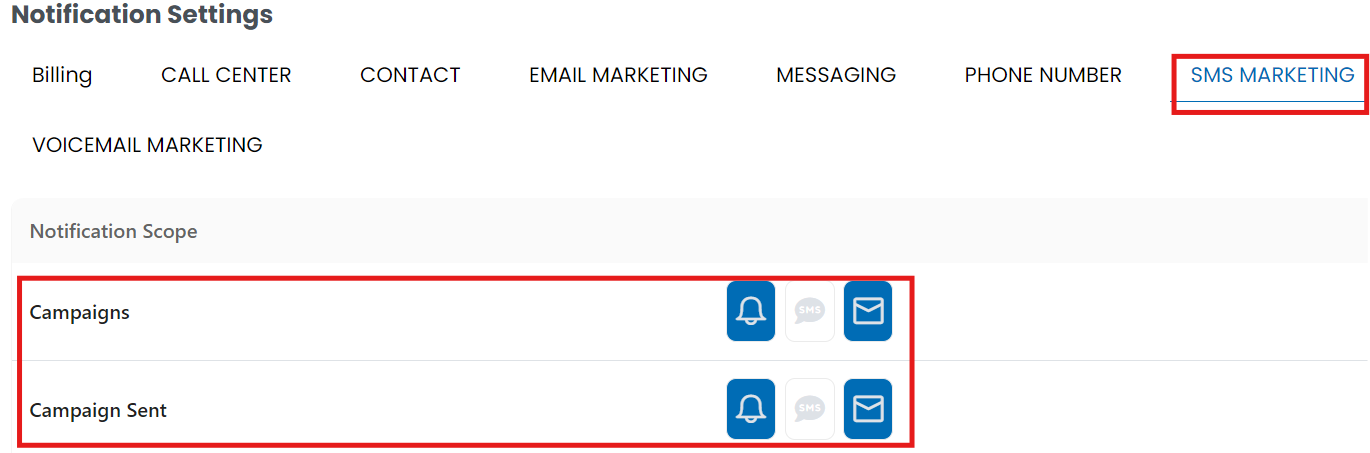
- Select SMS Marketing Tab:
- Under the SMS Marketing tab – Notifications related to voice calls, you’ll see options for different notification scopes like campaigns and campaigns sent
- You can choose to receive notifications via:
Bell Icon: Web notifications
SMS Icon: Text messages
Email Icon: Email notifications
Tips
- Regularly review your notification settings to ensure you are receiving updates through your preferred channels.
- You can manage multiple notification methods to stay informed via SMS, email, or directly on the web portal.