Customizing your notification settings in Nextelco allows you to stay informed about important updates and activities related to your account. This guide will walk you through the steps to manage your notification preferences.
Step 1: Accessing Notification Settings
- Log in to your Nextelco Account:
- Enter your credentials to access the dashboard.
- Enter your credentials to access the dashboard.
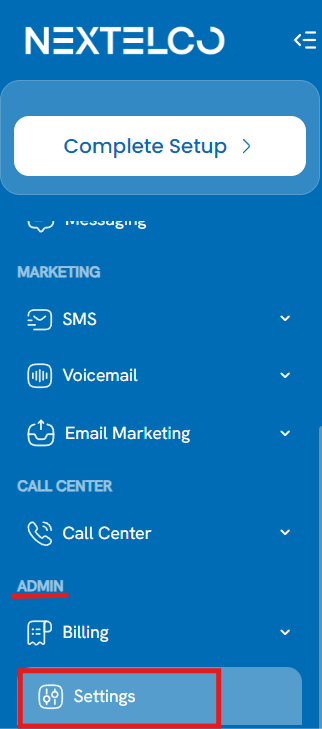
- Navigate to the Settings Section:
- On the left sidebar, find and click on the Settings option.
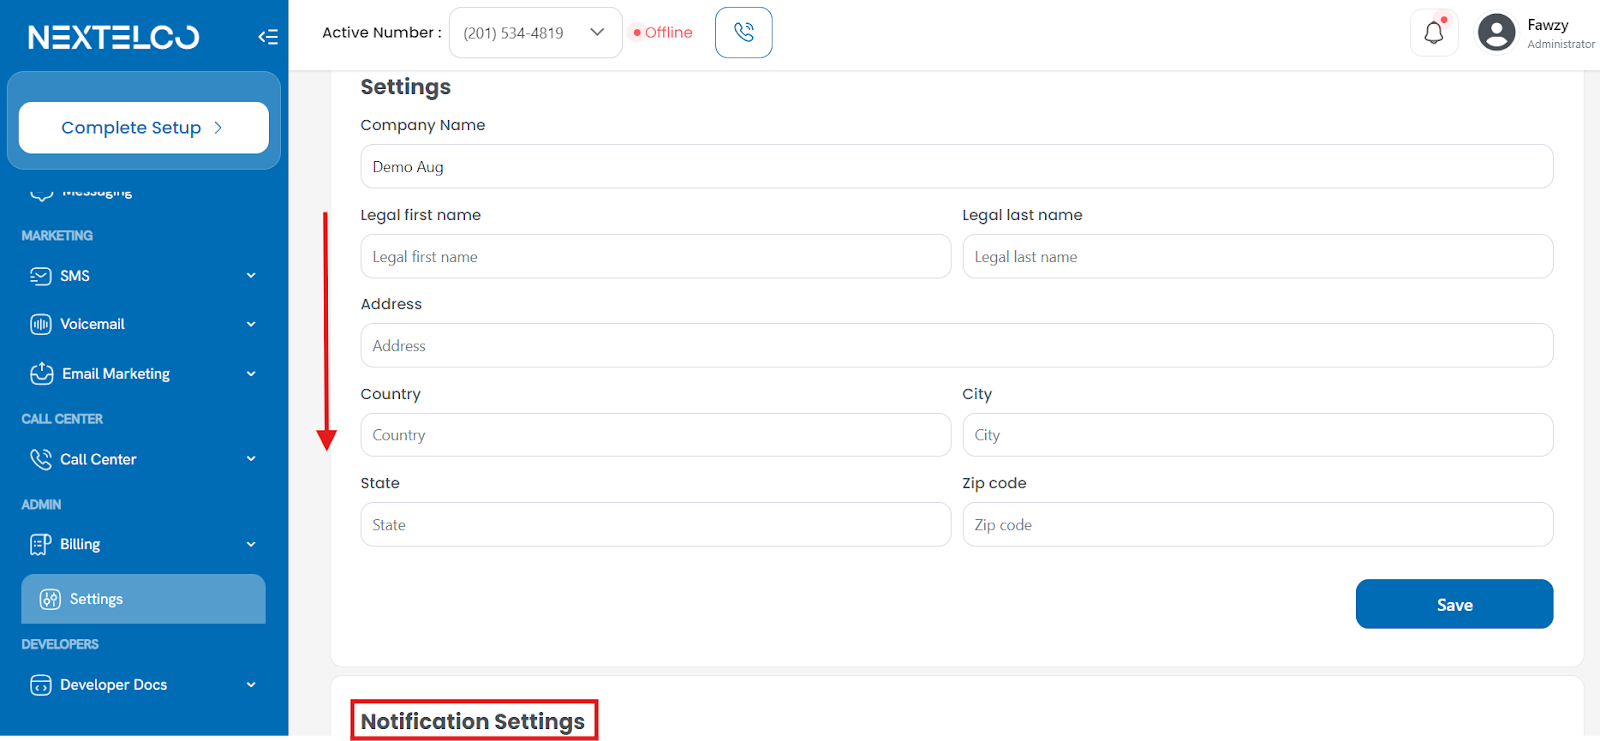
- On the menu that opens scroll down to select Notification Settings.
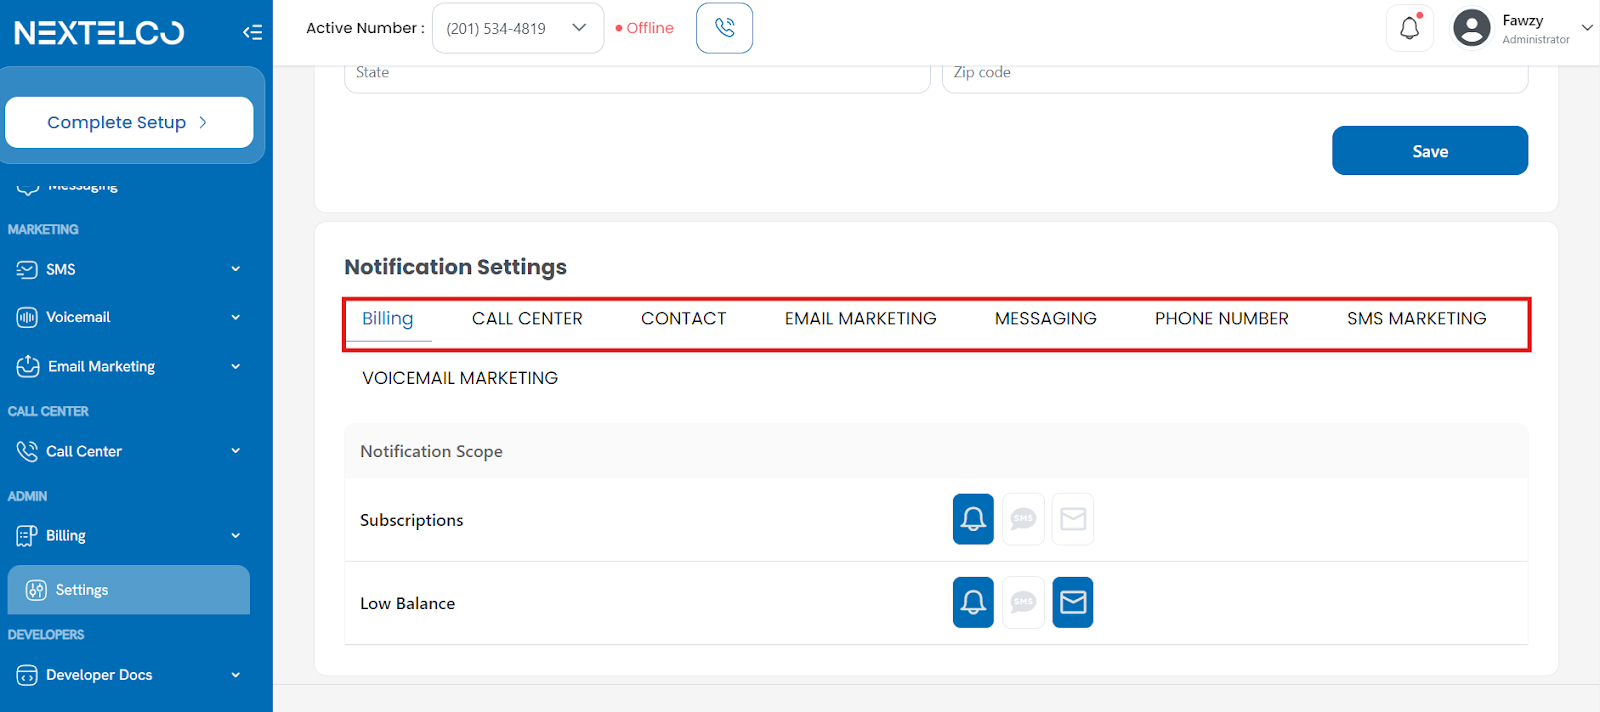
- Viewing Notification Categories:
- You will see different categories for notifications, such as:
- Billing
- Call Center
- Contact
- Email Marketing
- Messaging
- Phone Number
- SMS Marketing|
- You will see different categories for notifications, such as:
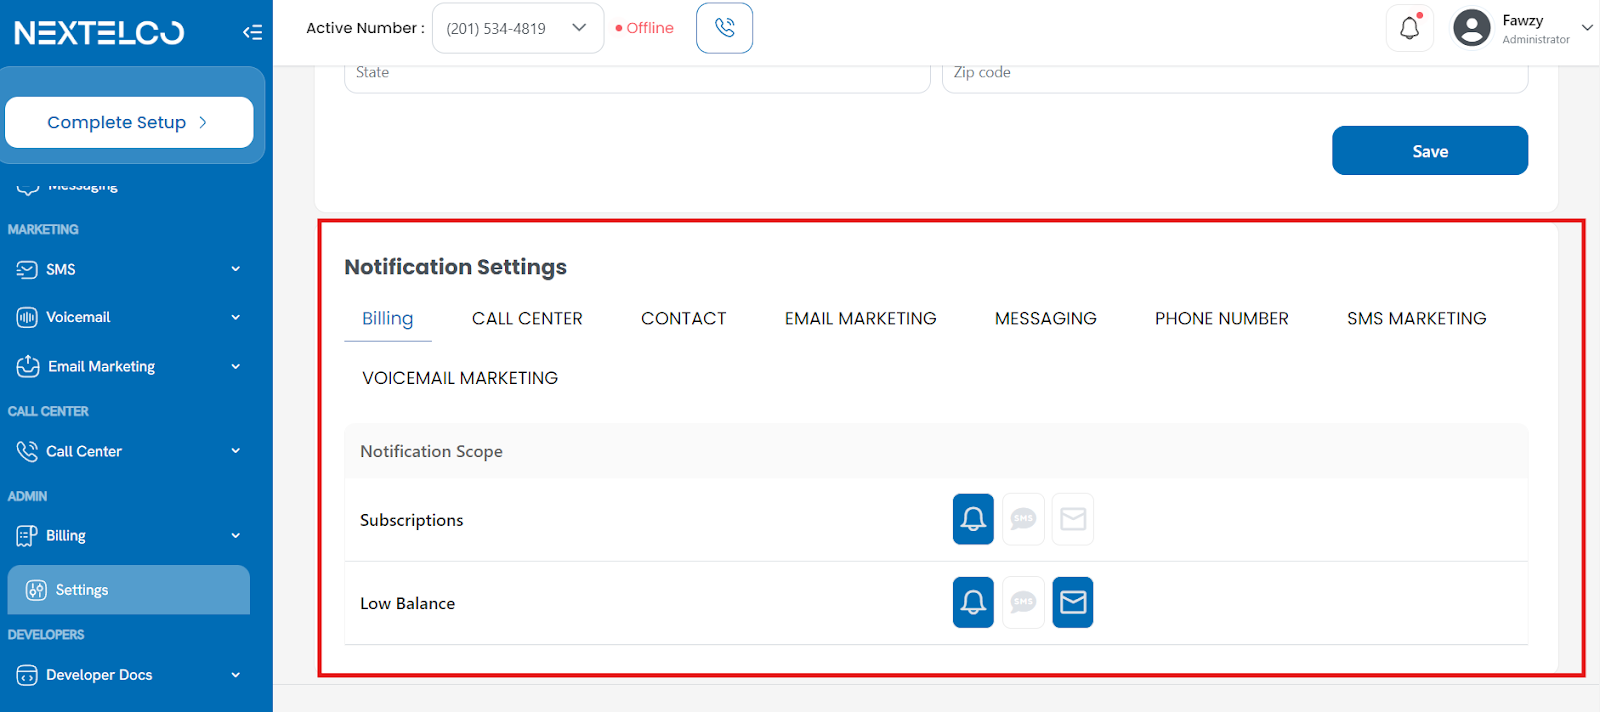
Managing Billing Notifications
- Select the Billing Tab:
- Click on the Billing tab to view notification settings related to your billing activities.
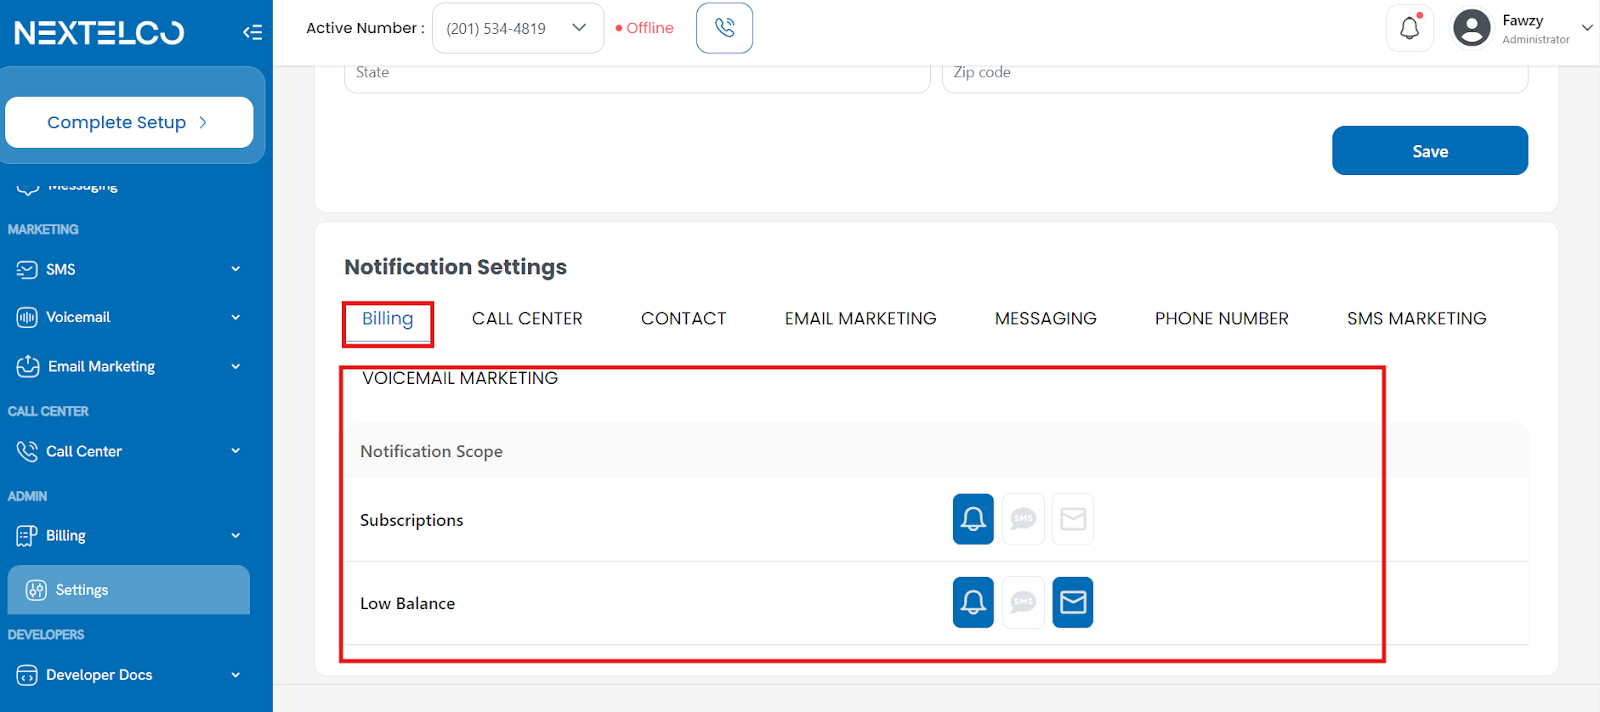
- Configure Notification Scope:
- Under the Billing tab, you’ll see options for different notification scopes like Subscriptions and Low Balance.
- You can choose to receive notifications via:
Bell Icon: Web notifications
SMS Icon: Text messages
Email Icon: Email notifications
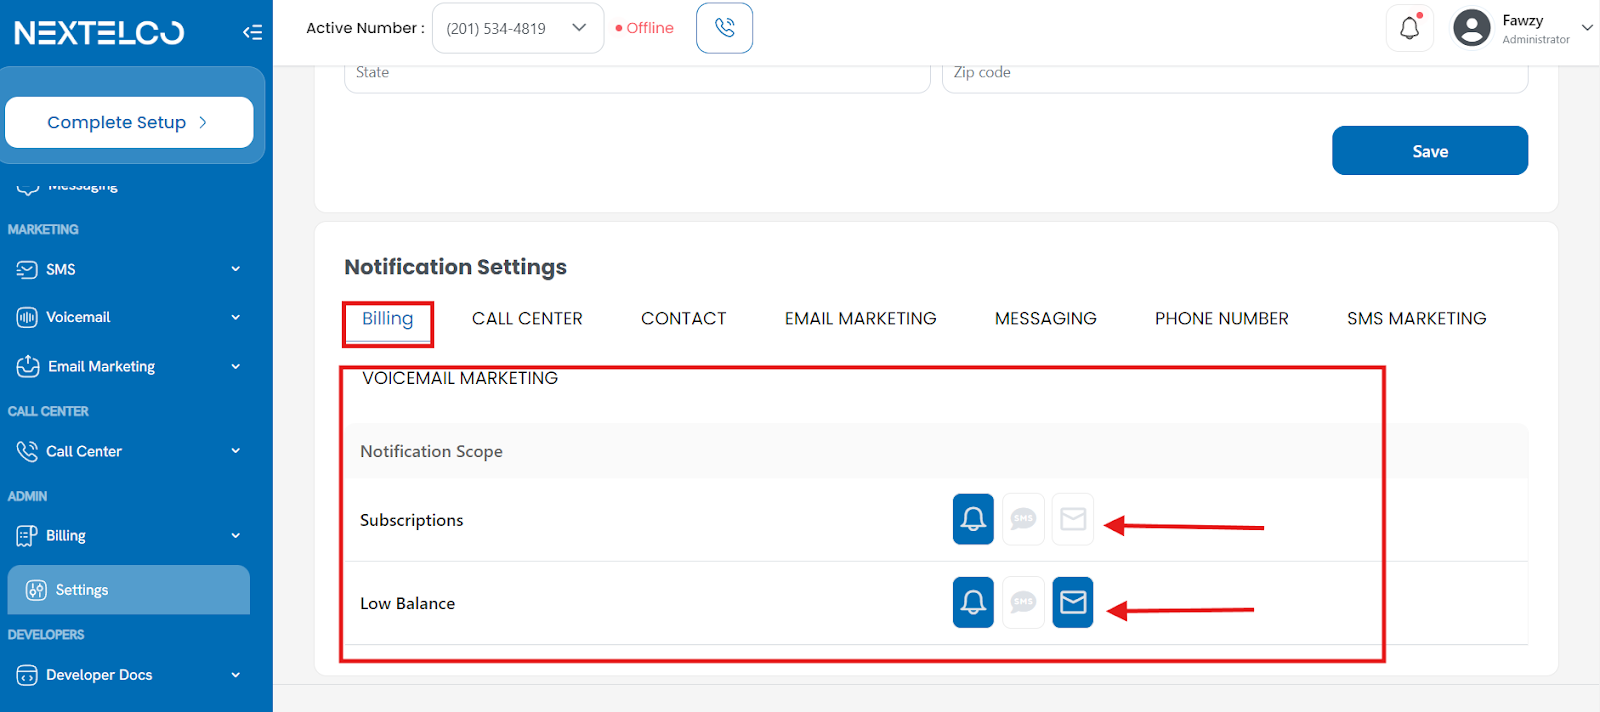
- To activate or deactivate any notification method, click on the respective icon. If the icon is highlighted, the notification method is active.
- Save Your Settings:
- After making your selections, click the Save button to apply your changes.
- After making your selections, click the Save button to apply your changes.
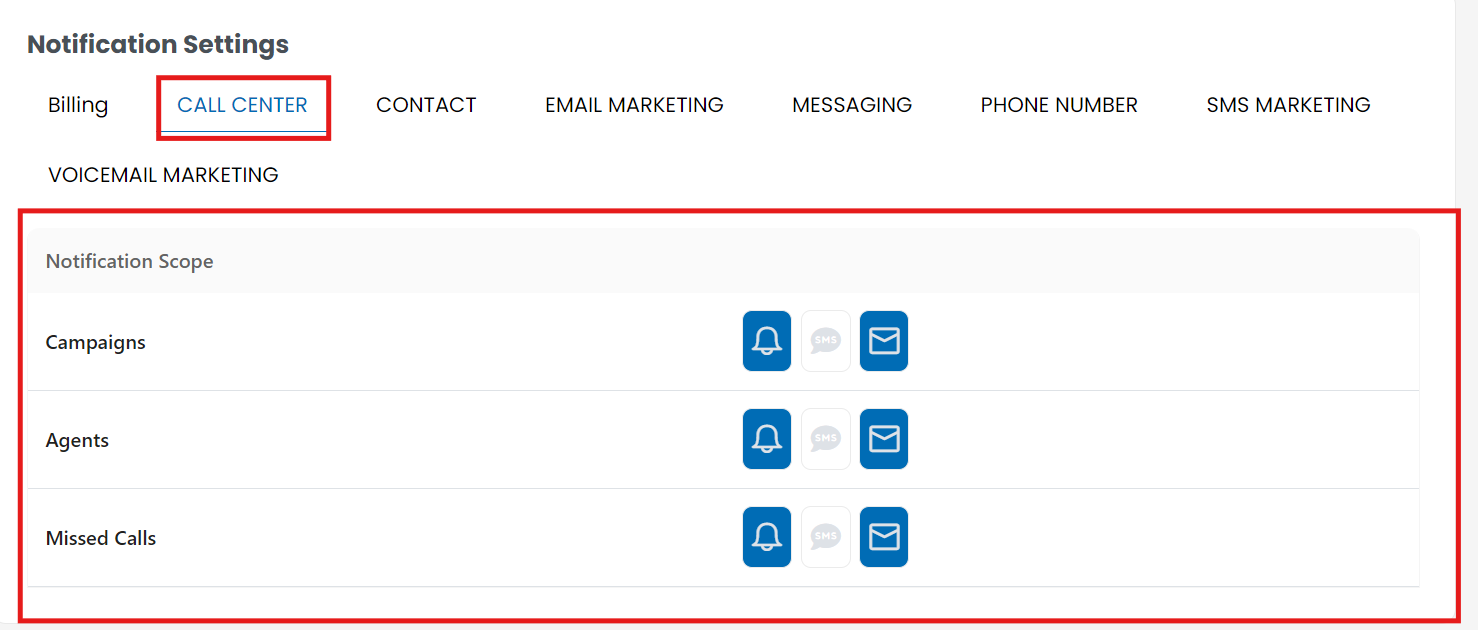
- Select Call Center Tab:
- Under the Call Center tab – Notifications related to call center activities, you’ll see options for different notification scopes like Campaigns, Agents and missed calls
- You can choose to receive notifications via:
- Bell Icon: Web notifications
SMS Icon: Text messages
Email Icon: Email notifications
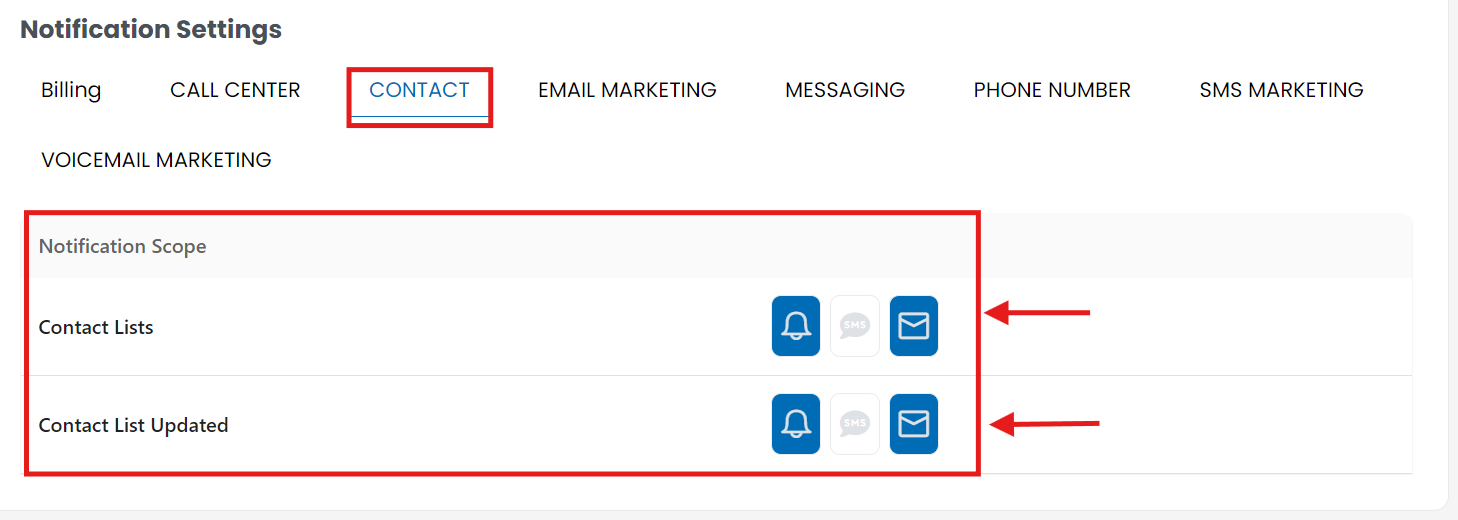
- Select Contact Tab:
- Under the Contact tab – Notifications related to contacts, you’ll see options for different notification scopes like contact lists and contact list updated
- You can choose to receive notifications via:
Bell Icon: Web notifications
SMS Icon: Text messages
Email Icon: Email notifications
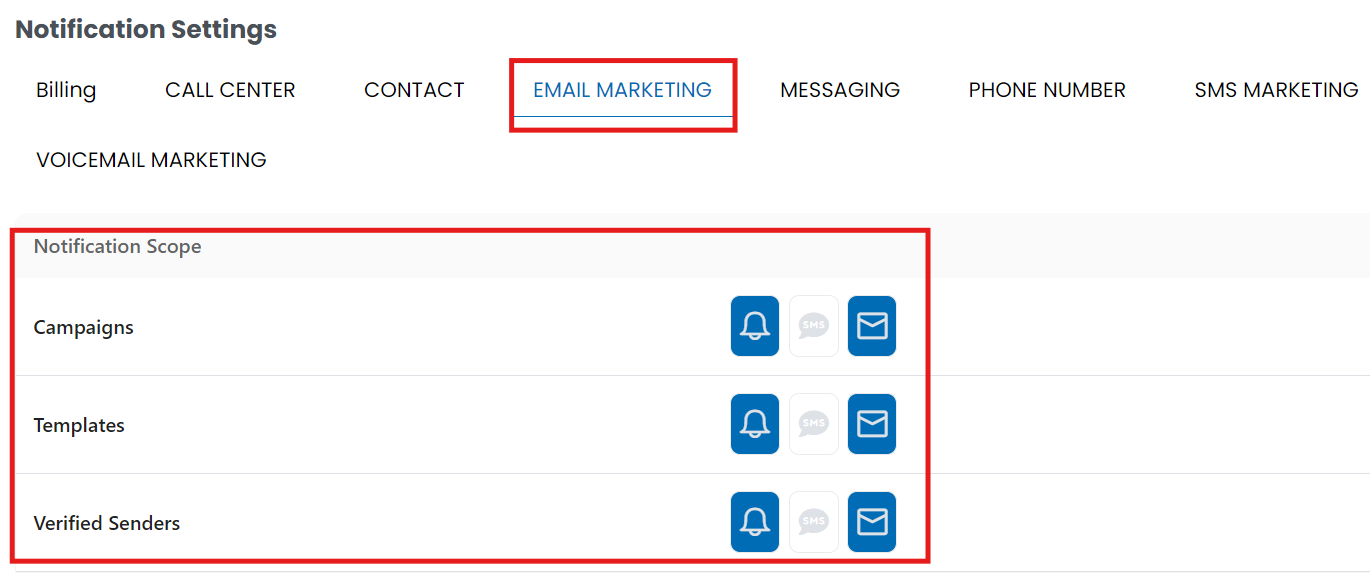
- Select Email Marketing Tab:
- Under the Email Marketing tab – Notifications related to Email Marketing, you’ll see options for different notification scopes like campaigns, templates and verified senders
- You can choose to receive notifications via:
Bell Icon: Web notifications
SMS Icon: Text messages
Email Icon: Email notifications
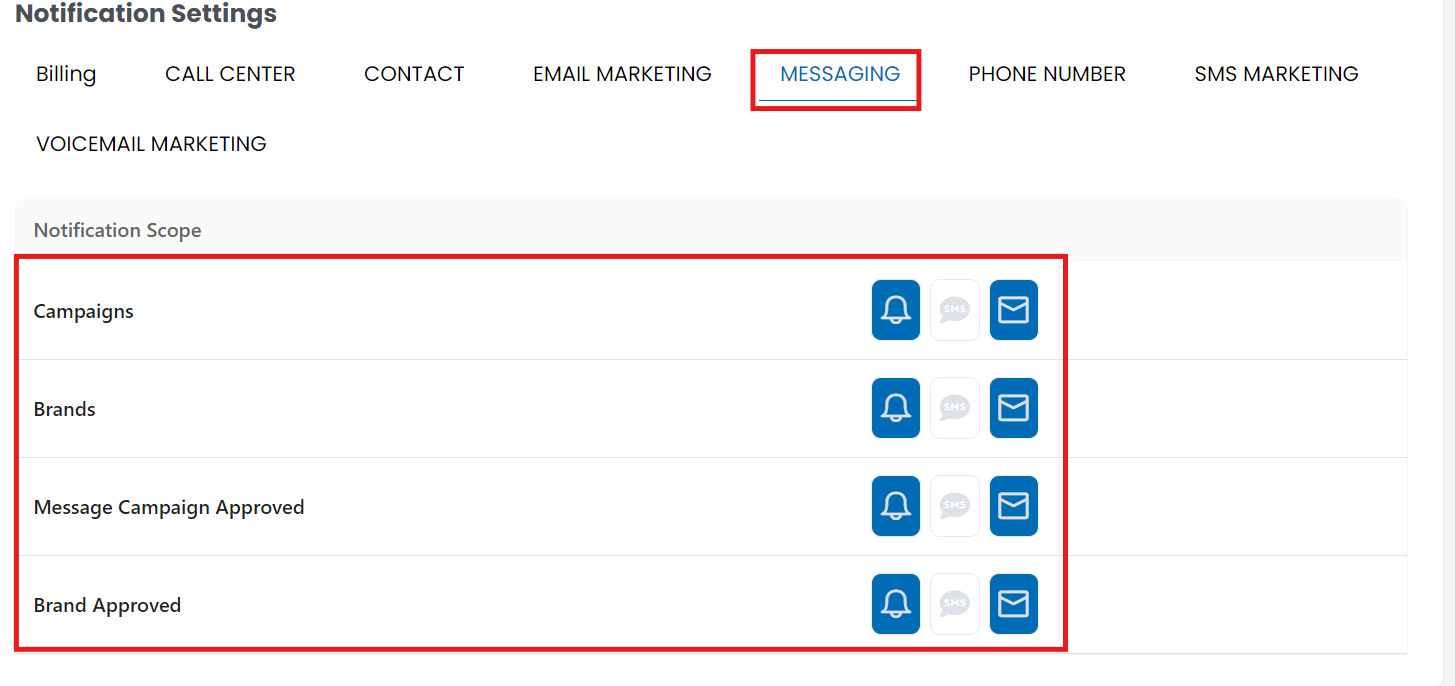
- Select Messaging Tab:
- Under the Messaging tab – Notifications related to Messaging, you’ll see options for different notification scopes like campaigns, templates and verified senders
- You can choose to receive notifications via:
Bell Icon: Web notifications
SMS Icon: Text messages
Email Icon: Email notifications
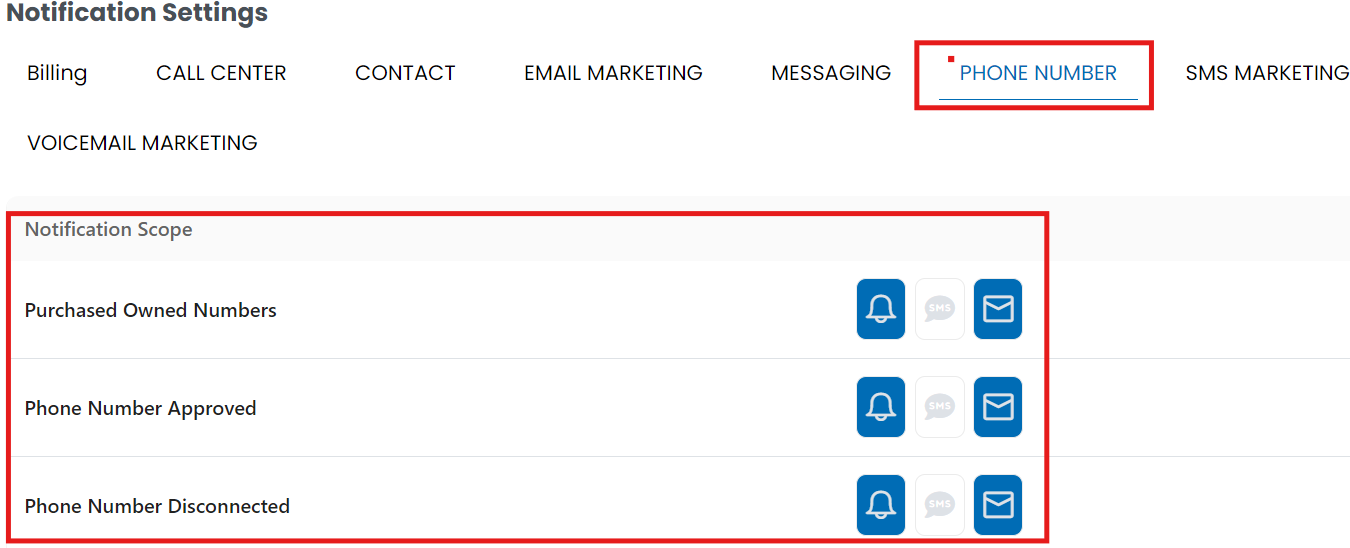
- Select Phone Number Tab:
- Under the Phone Number tab – Notifications related to voice calls, you’ll see options for different notification scopes like Purchased, Owned Numbers, Phone Number Approved, Phone Number Disconnected
- You can choose to receive notifications via:
Bell Icon: Web notifications
SMS Icon: Text messages
Email Icon: Email notifications
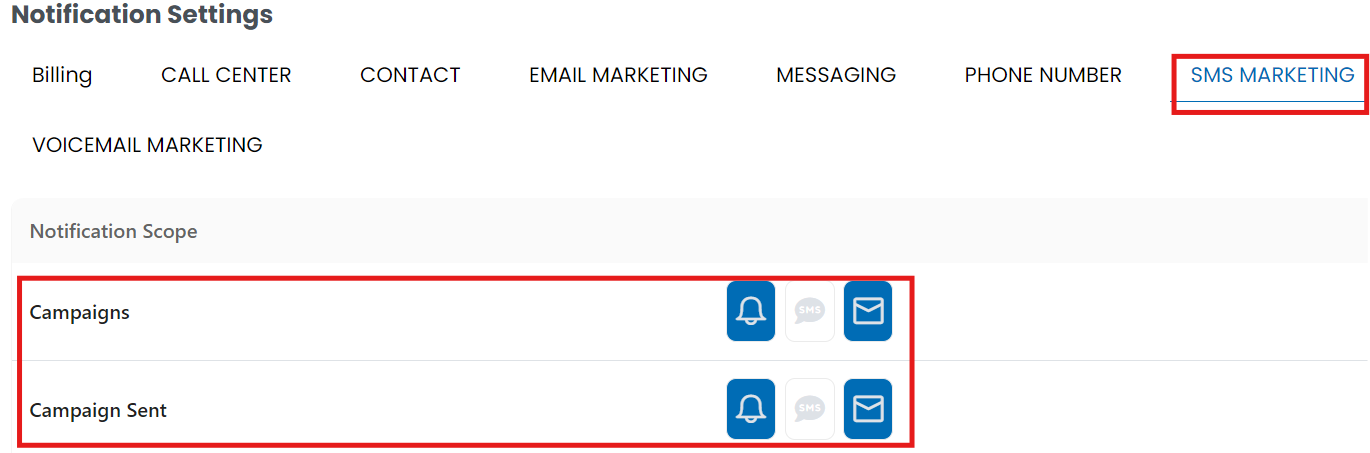
- Select SMS Marketing Tab:
- Under the SMS Marketing tab – Notifications related to voice calls, you’ll see options for different notification scopes like campaigns and campaigns sent
- You can choose to receive notifications via:
Bell Icon: Web notifications
SMS Icon: Text messages
Email Icon: Email notifications
Tips
- Regularly review your notification settings to ensure you are receiving updates through your preferred channels.
- You can manage multiple notification methods to stay informed via SMS, email, or directly on the web portal.