Creating a call center campaign in Nextelco is a straightforward process. Follow these steps to set up a new campaign:
Step 1: Log in to Your Nextelco Account
- Open your web browser and go to the Nextelco login page.
- Enter your username and password, then click Log In.
Step 2: Access the Call Center Section
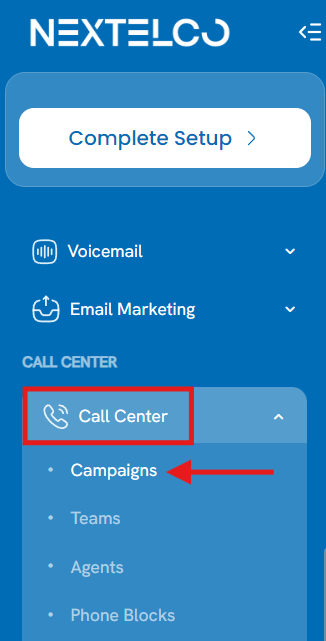
- From the dashboard, navigate to the Call Center section on the left-hand menu.
- Click on Campaigns under the Call Center menu.
Step 3: Start a New Campaign
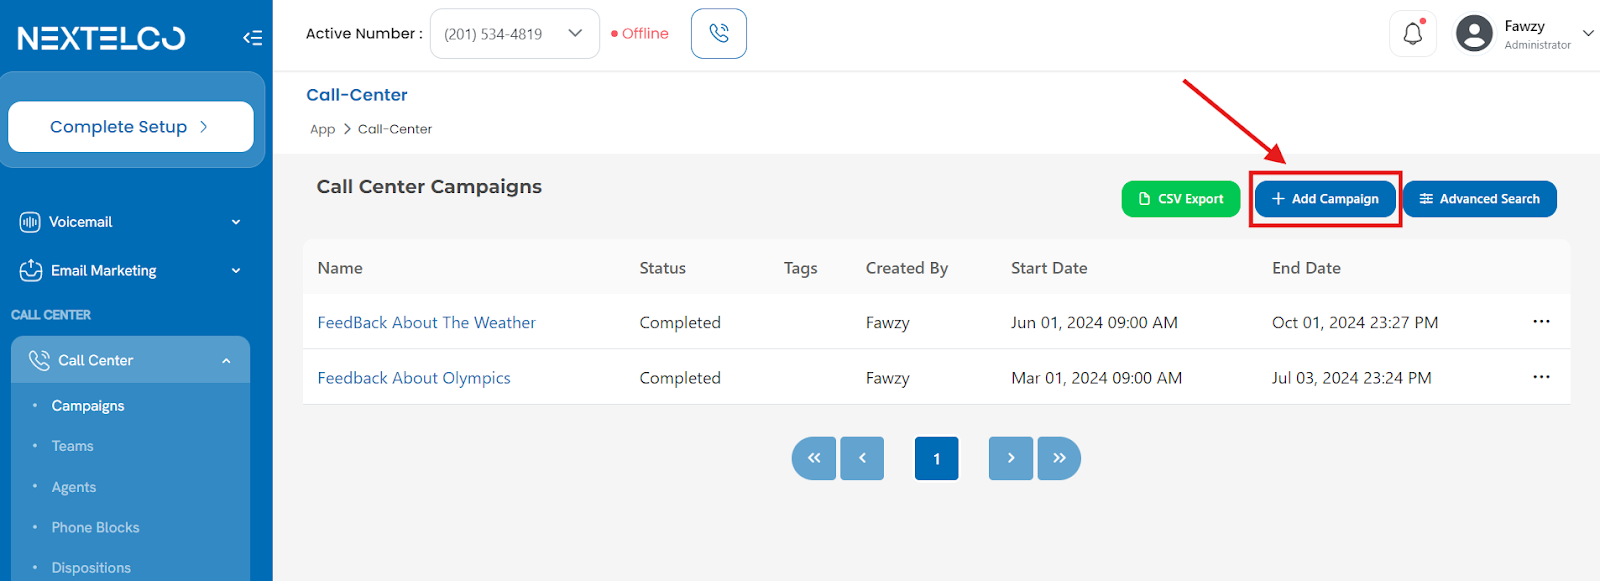
- In the “Campaigns” section, click on the “Add Campaign” button.
- You will be directed to the “New Campaign” page.
Step 4: Enter Campaign Information
- You will be directed to the “New Callcenter Campaign” page, where you need to fill out the following details:
- Caller ID:
- Choose the number of required caller IDs by selecting one of the following options:
- Auto Rent Phone Numbers: The system will automatically rent the required phone numbers.
- Use Existing Phones: Use your existing phone numbers.
- Phone Blocks: Select a pre-configured block of phone numbers.
- Choose the number of required caller IDs by selecting one of the following options:
- Enter the Number of Phone Numbers if you selected “Auto Rent Phone Numbers.”

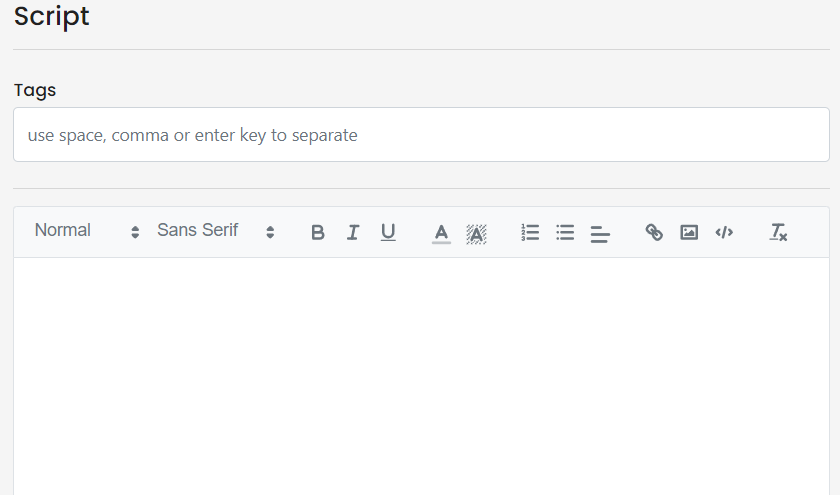
- Script:
- Add a script for your campaign.
- Add Tags: Use space, comma, or enter key to separate tags.
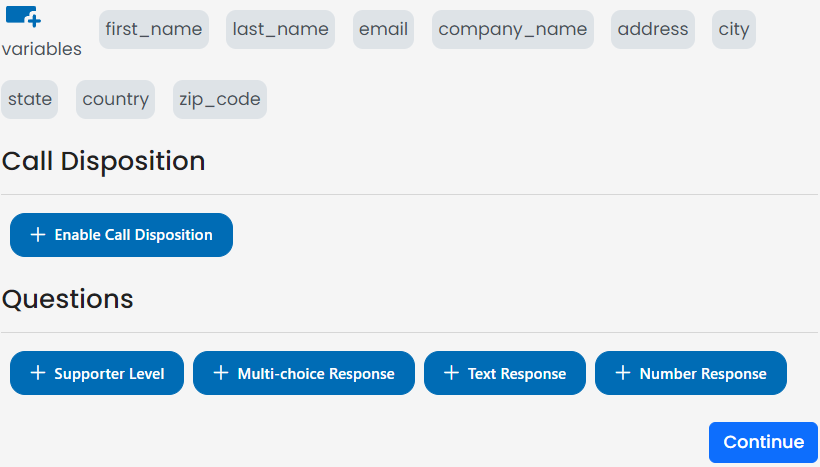
- You can also add variables to your script, just click on existing ones to add them or create new ones
- Disposition and questions
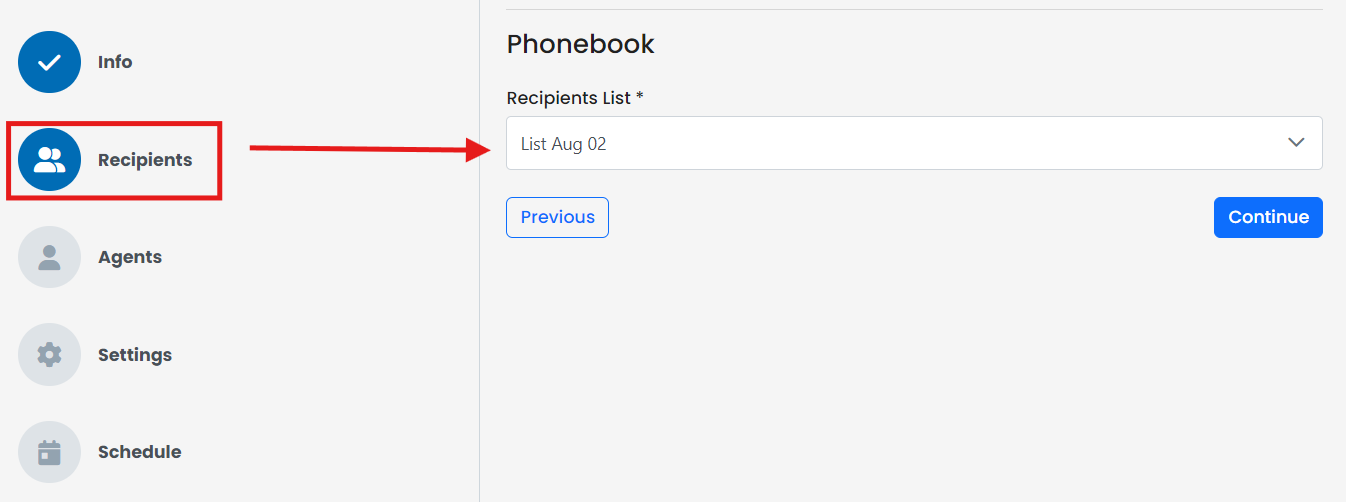
Step 4: Define Recipients
- Click on the Recipients tab on the left-hand side.
- Select the list of recipients who will be contacted in this campaign.
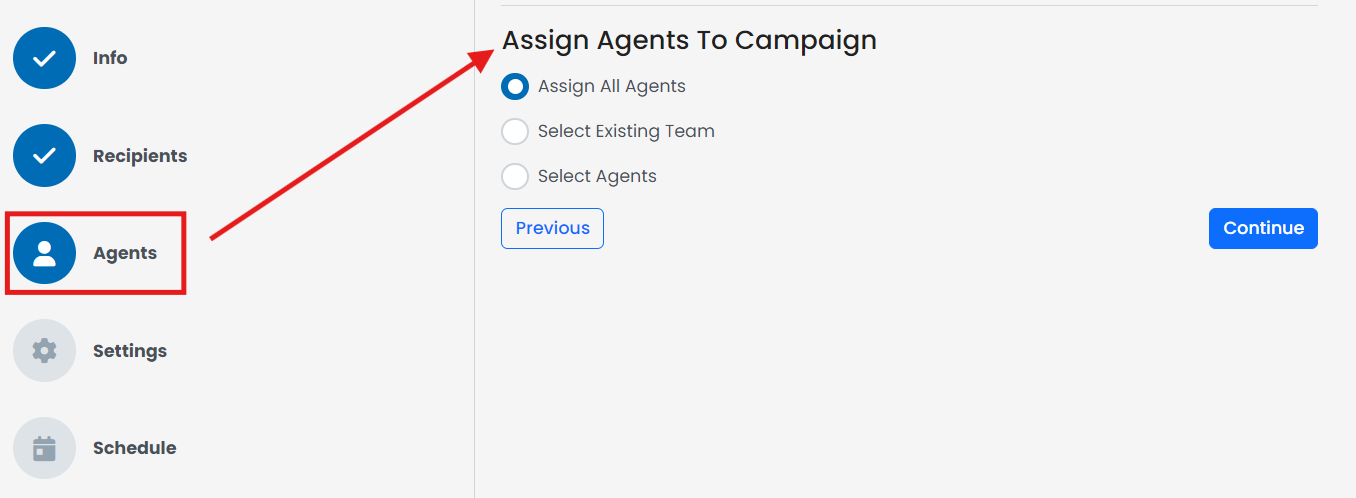
Step 5: Assign Agents
- Click on the Agents tab.
- Assign agents who will handle calls for this campaign.
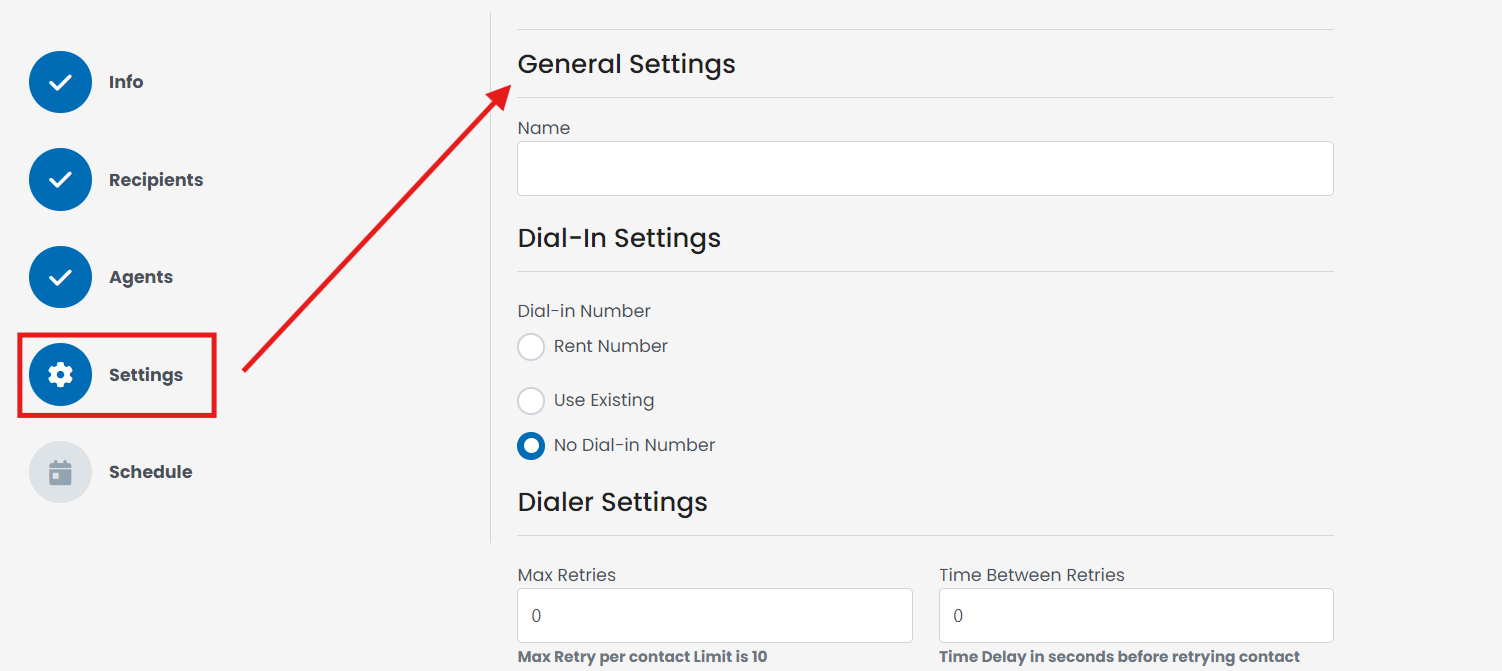
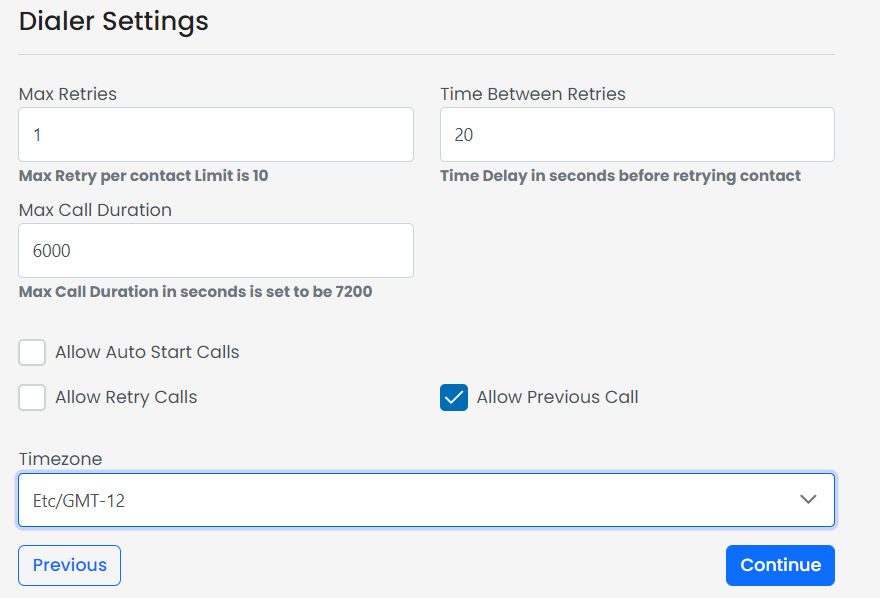
Step 6: Configure Settings
- Click on the Settings tab.
- Set the campaign parameters such as name, distal-in number, call retries, time zones, etc.
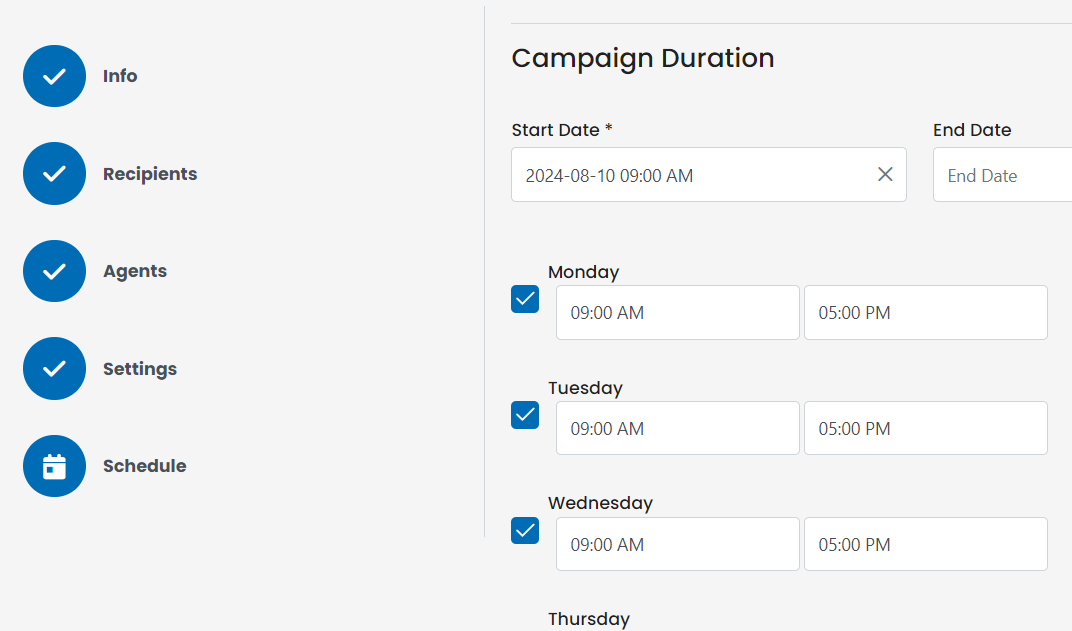
Step 7: Schedule the Campaign
- Click on the Schedule tab.
- Choose the start and end date and time for your campaign.
Step 8: Review and Save
- After filling out all the details, review the information.
- Click on the Save button to create the campaign.